Hosted (Pro)
Hosted Pro on pwpush.com—Premium features plus custom domains, teams, and security policies.
Overview
Pro is the top hosted plan at pwpush.com. It includes everything in Premium—file sharing (including attachments on request responses), branded push and request pages, audit logging—plus custom domains for your secret links, team collaboration, team-wide policies, and priority support. (Requests on Free are text-only; file attachments on request responses require Premium or Pro.)
Instead of sharing links like https://eu.pwpush.com/p/abc123, you can use your own host, for example https://secure.example.com/p/abc123:

Subscribe in your preferred data residency: us.pwpush.com or eu.pwpush.com. See Regions.
Features (in addition to Premium)
- Custom domain — White-label URLs for your pushes; configure in workspace settings and DNS (below)
- Teams — Invites, roles, and collaboration
- Policies — Team-wide security settings
- Priority support
Teams and policies
Pro is built for shared workspaces: one subscription can cover multiple people working from the same dashboard, with invitations, roles, and team-wide policies so admins can standardize how pushes and requests behave.
Inviting team members
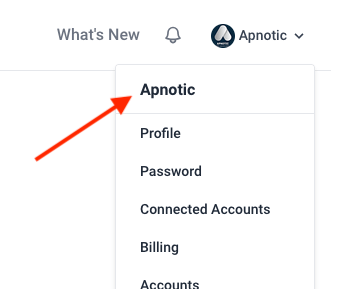
- Open the workspace menu in the top-left of the app and choose your team workspace (not your personal profile).
- On the workspace page, use Invite a User to send an email invitation. Invited users join the same shared dashboard as everyone else in that workspace.
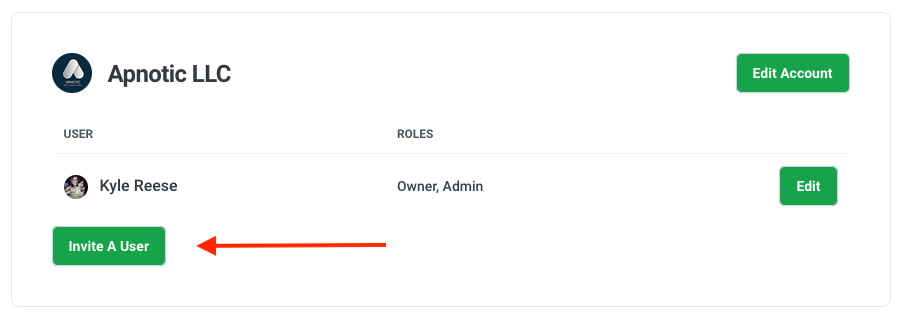
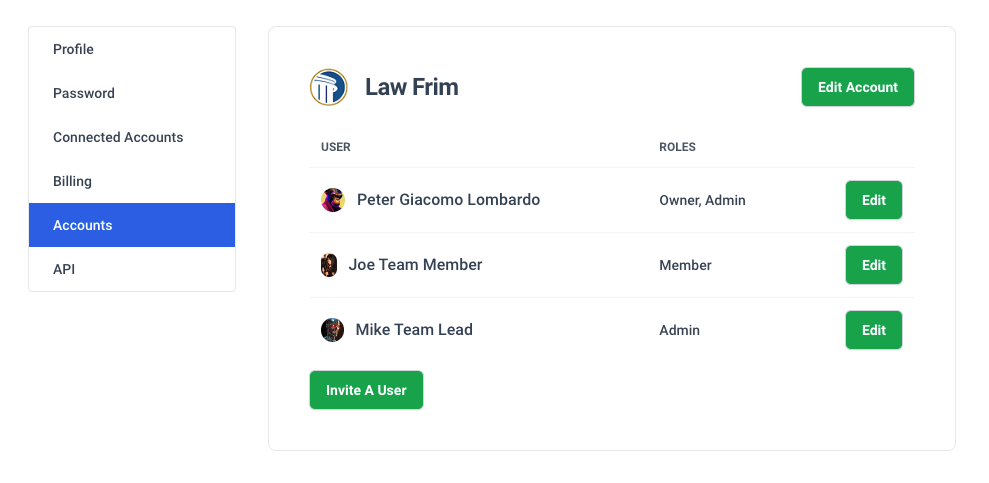
You can see pending invitations and members from the team area:
More detail: How can I invite users to my workspace? — including separate workspaces when you need isolation between groups.
Team roles
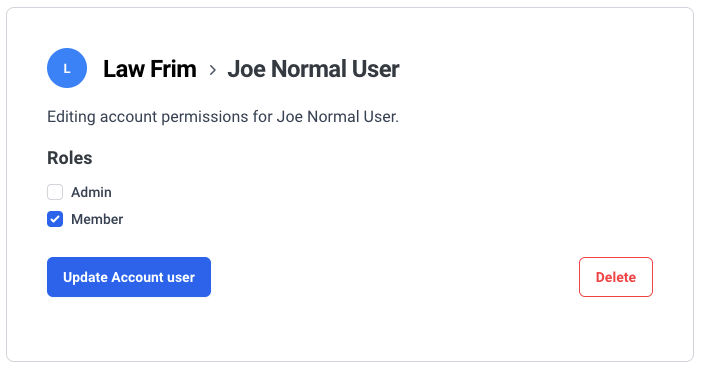
When you invite someone or edit a teammate, you assign one or more roles. Roles stack: if you select more than one, the person gets the combined permissions. The workspace owner is always shown separately and has full control of that workspace.
The invite and member-edit screens include an in-app guide, How team roles work, with the same details as below.
| Role | What they can do |
|---|---|
| Admin | Full workspace control: invite and remove people and change roles; view and manage all pushes and secure requests; workspace settings and branding; billing and subscription. |
| Manager | View and manage all pushes and secure requests (not limited to their own). Cannot invite people, change roles, remove teammates, change workspace settings or branding, or manage billing. |
| Member | Day-to-day use: create and manage only their own pushes and requests. Cannot see or manage teammates’ content or workspace administration. |
| Billing | Everything Member includes, plus access to billing pages, subscription, and payment details. |
Shared dashboard
On hosted Pro at pwpush.com, Admin and Manager see the full workspace content: every push and secure request in that workspace. Member and Billing (unless they also have Manager or Admin) see only what they created—the same workspace, but filtered to their own content.
Self-Hosted Pro works differently: each user has their own dashboard, while administrators can monitor activity from within the application. See Pro Self-Hosted Overview and Operations for how that deployment behaves.
Team policies
Admins can open Admin → Application Policies to set defaults and limits for the whole team: for example push expiration ranges, view limits, which options appear on the push and request forms, request notification behavior, and password-generator settings. Policies help you enforce consistent security without asking each user to remember every rule.
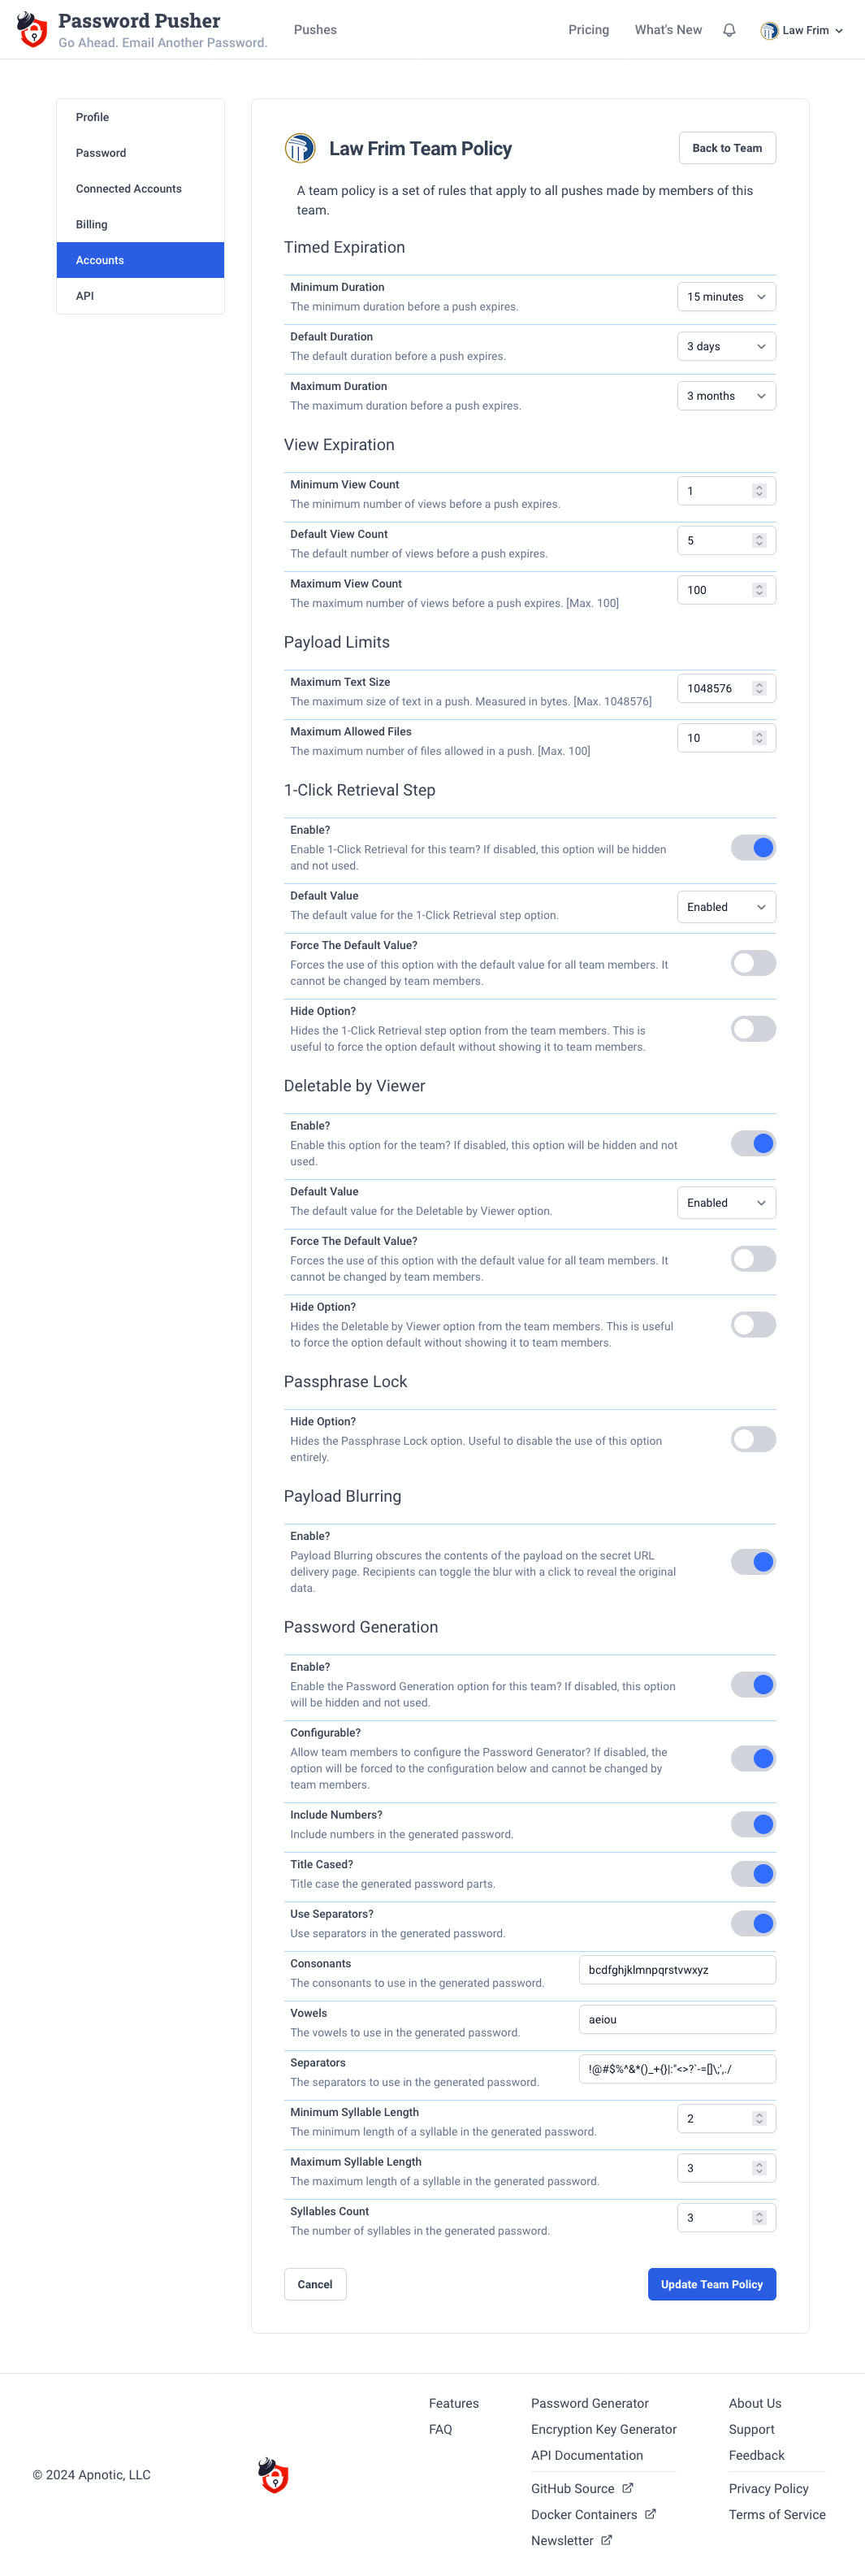
The policy UI is organized into sections (expiration, limits, options, request settings, password generator, and more). Pick a section, choose Edit, adjust values, and save so they apply to everyone in that workspace.
Two-Factor Authentication (2FA) policy
In the Login Security policy section, admins can require all workspace members to enable Two-Factor Authentication (2FA).
When Require Two-Factor Authentication is enabled:
- All workspace members must have 2FA enabled for their Password Pusher login (see Password & 2FA in user settings)
- Members without 2FA will be blocked from accessing the workspace and its API endpoints
- API tokens will be rejected with a 403 Forbidden error until 2FA is enabled
Important for SSO users: Users who log in via SSO (Google, Microsoft, Okta, etc.) must also enable 2FA in Password Pusher under Password & 2FA. SSO authentication alone does not satisfy this requirement, even if your identity provider enforces MFA. Workspace members using SSO should enable two-factor authentication there as well.
Add a custom domain
- Open your workspace edit page on your regional host (
usoreu). - Find the Custom Domain section.
- Enter the fully qualified domain name without protocol or path (e.g.
secure.example.comforhttps://secure.example.com).
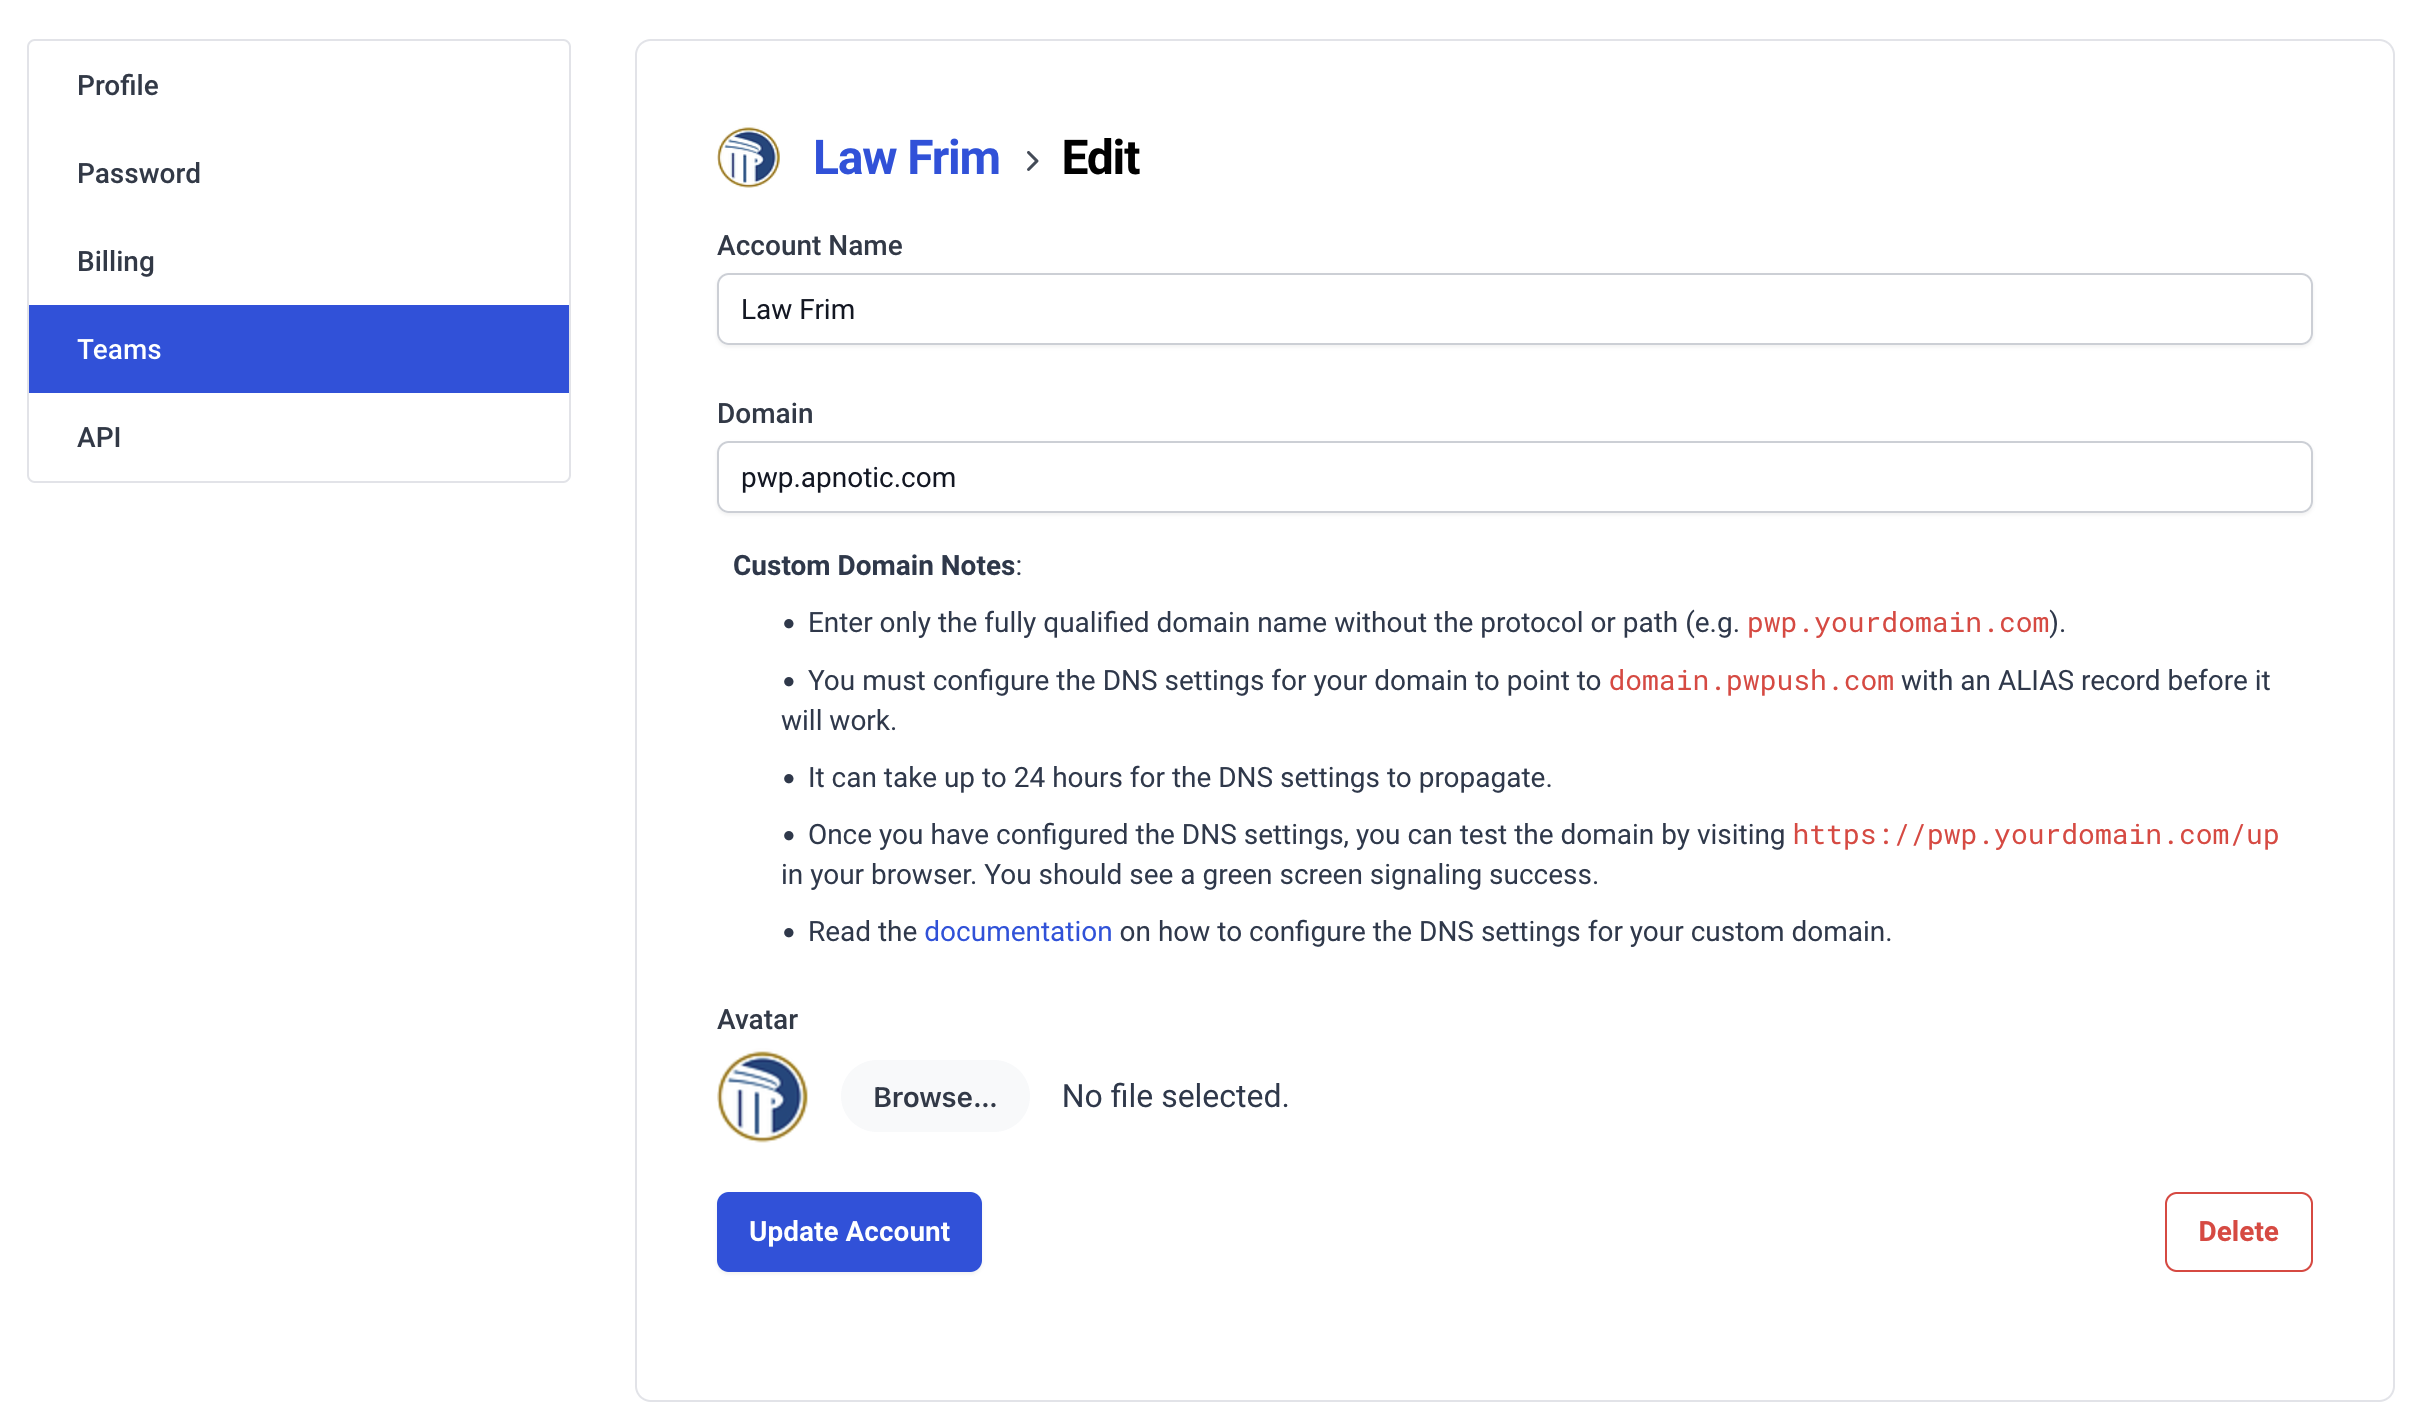
Best practice: Use a subdomain dedicated to Password Pusher (for example secure.example.com or password.yourdomain.com), not your apex marketing site.
Configure DNS
Before the domain works, point DNS at Apnotic’s infrastructure for your region.
DNS targets
Create either an ALIAS or CNAME record:
| Region | Target |
|---|---|
| US | domains-us.pwpush.com |
| EU | domains-eu.pwpush.com |
Record type
| Record type | Best for | Notes |
|---|---|---|
| ALIAS | Root / apex domains (e.g. example.com) |
Not supported by every DNS provider |
| CNAME | Subdomains (e.g. push.example.com) |
Widely supported; not valid at bare root for DNS reasons |
Use one record type—not both.
Example ALIAS record for the US Region:

Example CNAME record for the EU Region:

Propagation
DNS can take up to 24 hours to propagate globally; often it is much faster (minutes to a few hours). After changes, wait before testing. Tools such as whatsmydns.net can show propagation status.
Test your domain
When DNS has propagated, open:
https://secure.example.com/up
(use your real hostname). On success you should see a green status screen:
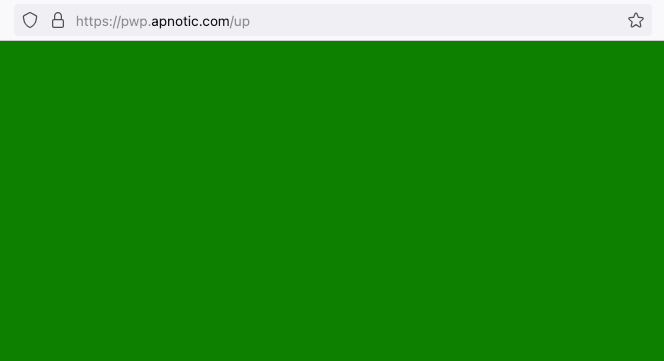
That indicates DNS is correct, SSL/TLS is active (issued automatically via Let’s Encrypt), and the domain is ready. Certificates renew automatically—no manual renewal steps.
Troubleshooting
Domain not working
- Confirm DNS points to
domains-us.pwpush.comordomains-eu.pwpush.com(matching your workspace region). - Re-check the hostname in settings (no
https://, no path). - Allow time for propagation.
SSL issues
- Wait several minutes after DNS is correct for certificate issuance.
- Try a private/incognito window or clear cache.
Still stuck — Contact support.
How to get started
- Review Pro on the pricing page and Editions.
- Subscribe on us.pwpush.com or eu.pwpush.com.
- Configure Branding (same as Premium) if desired—see Hosted (Premium).
- Invite teammates and set Application Policies (admins)—see Teams and policies above.
- Add your custom domain and DNS as above, then verify with
/up.
See also
- Hosted (Free) — Free hosted tier
- Hosted (Premium) — Branding and file sharing
- Regions — US vs EU
- Editions — Full comparison