Rebranding (OSS Self-Hosted)
Settings for rebranding OSS self-hosted Password Pusher instances.
Overview
OSS self-hosted Password Pusher instances can be fully rebranded to match your organization’s identity. This includes themes, logos, titles, taglines, favicons, and custom CSS.
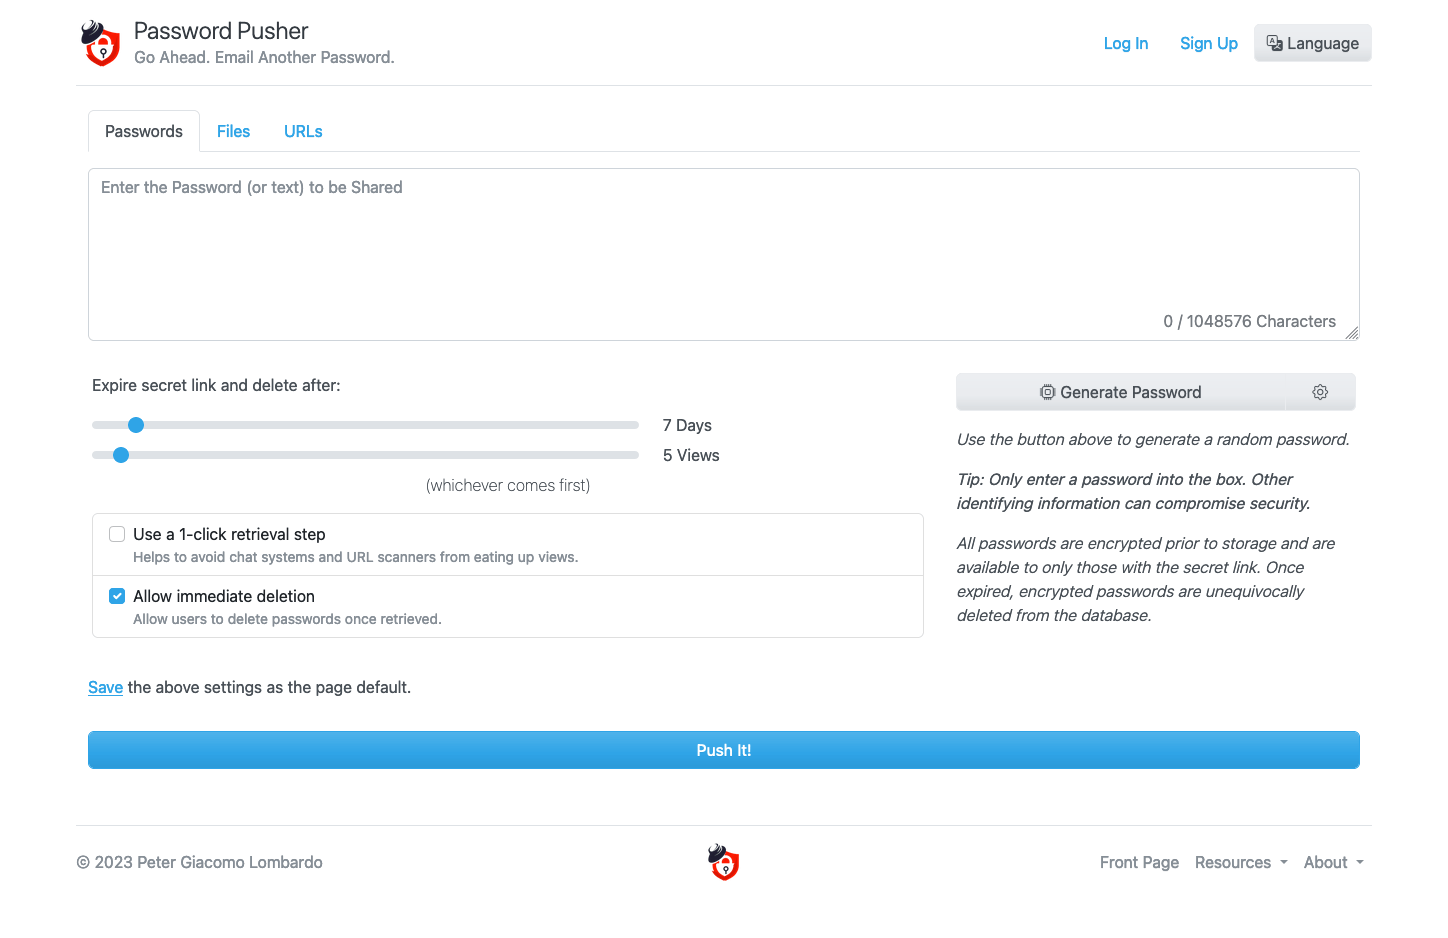
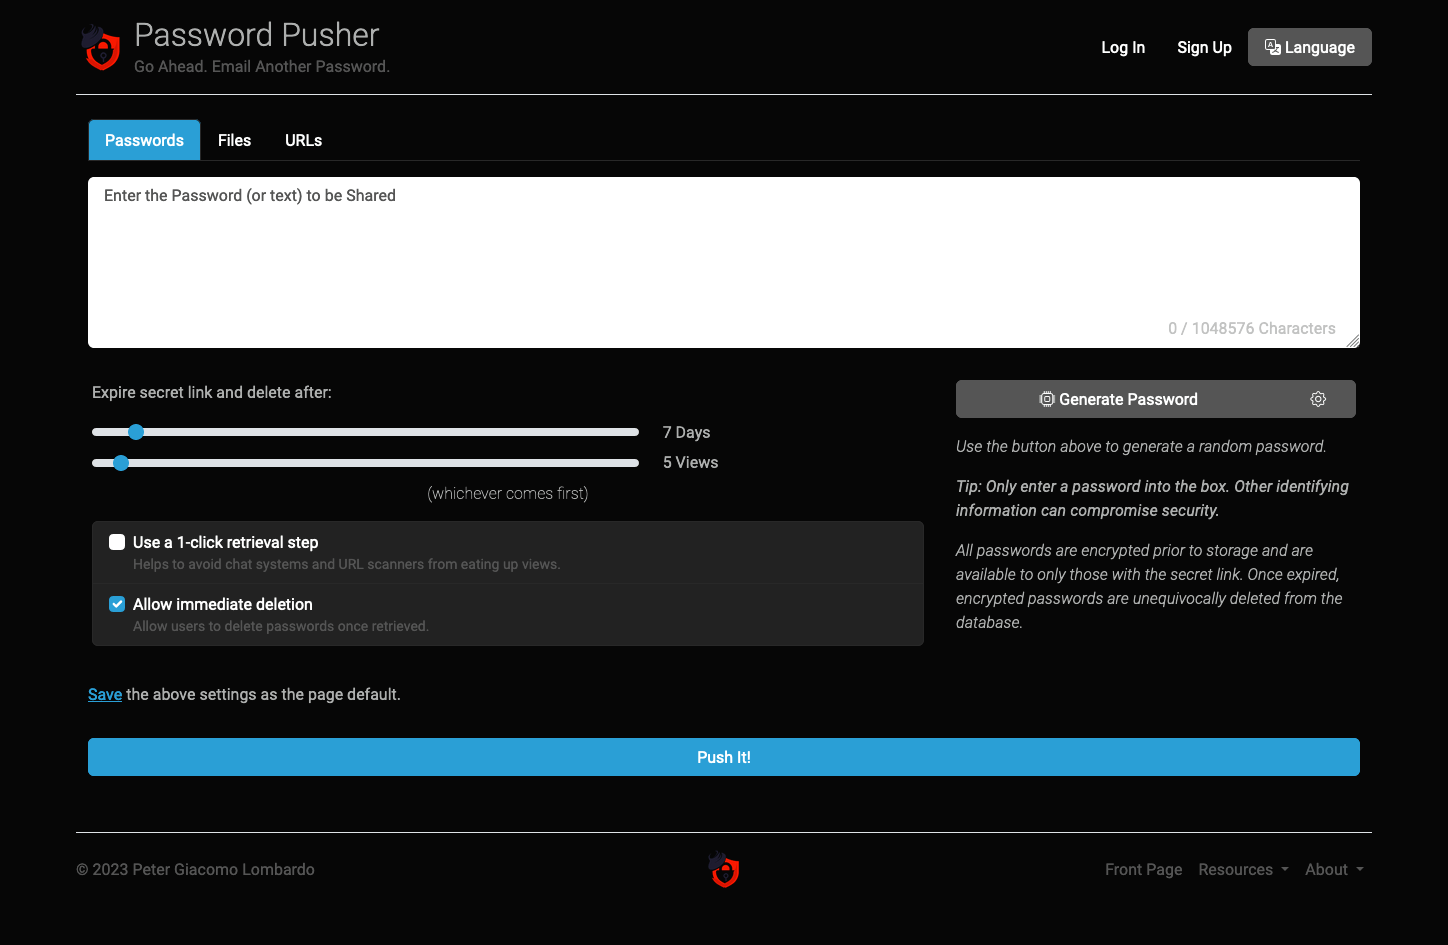
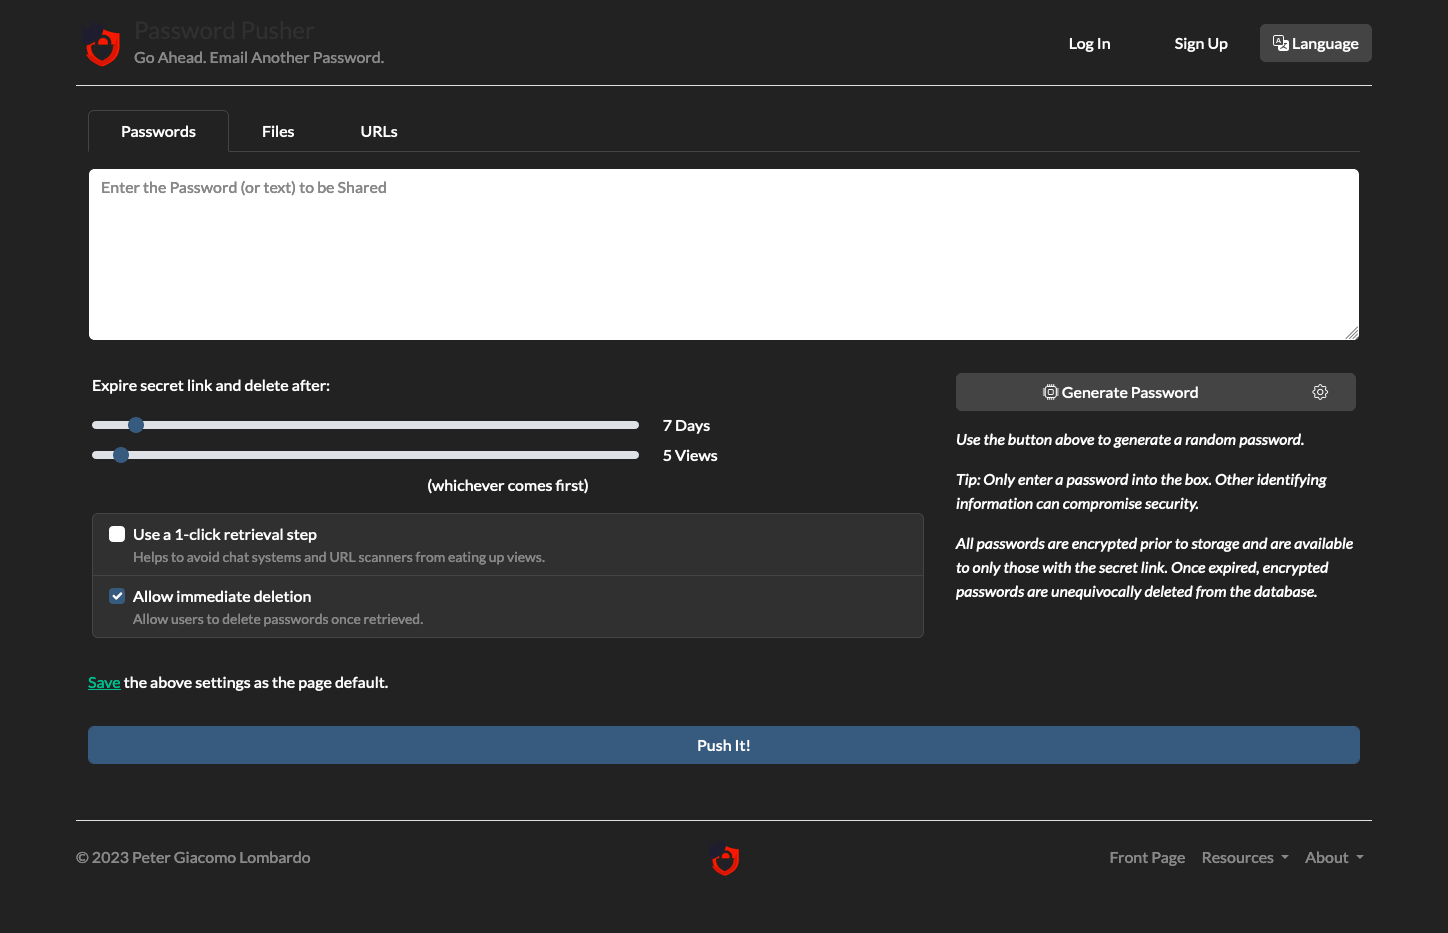
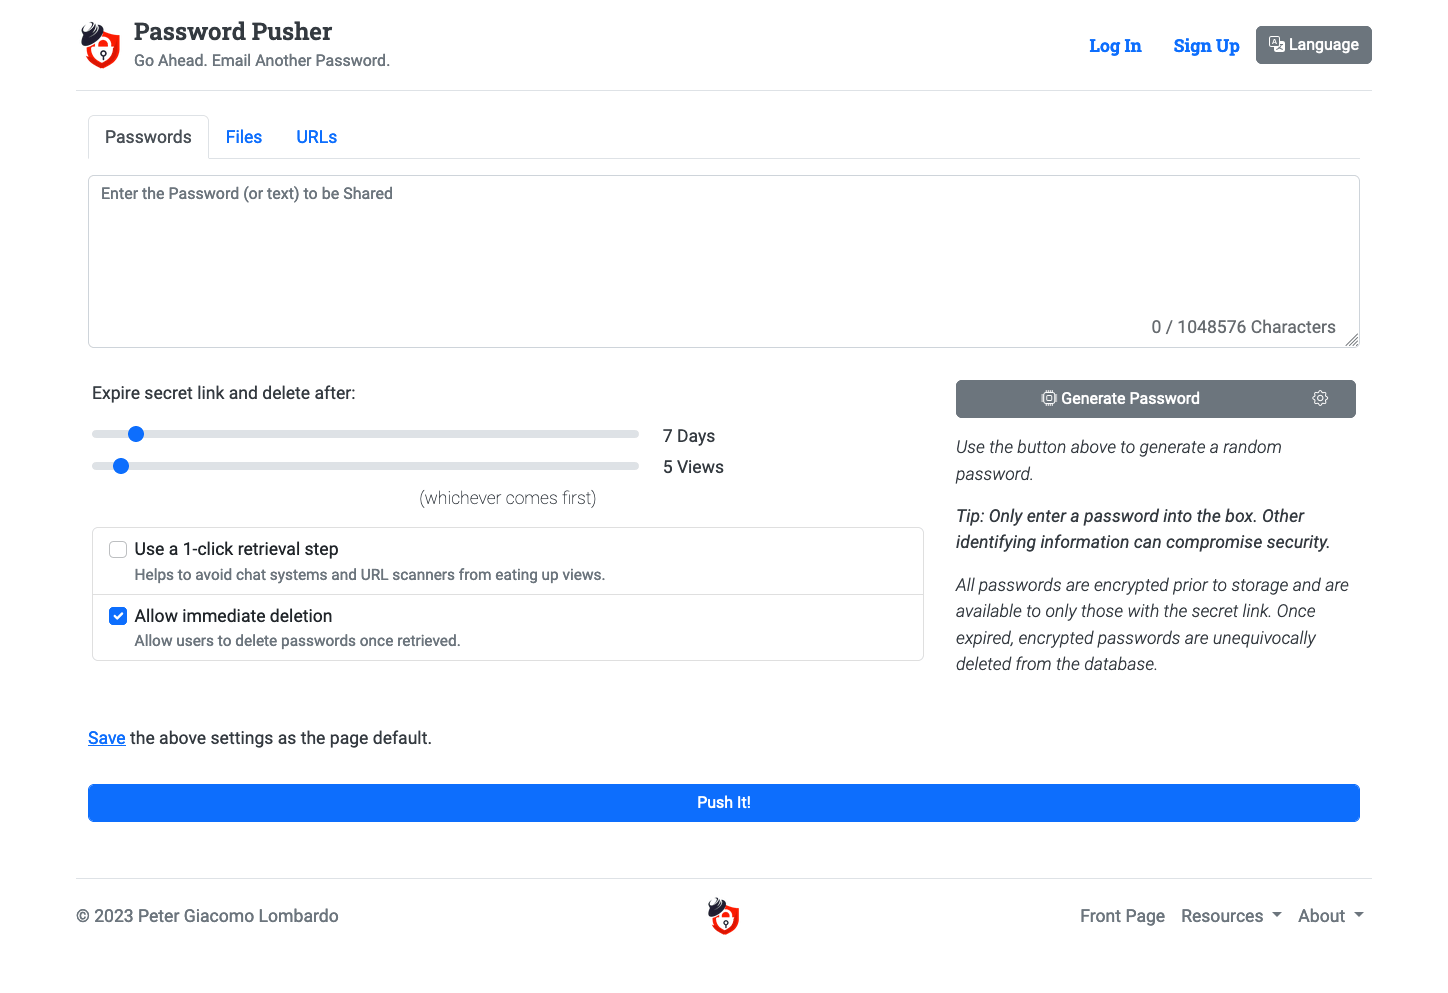
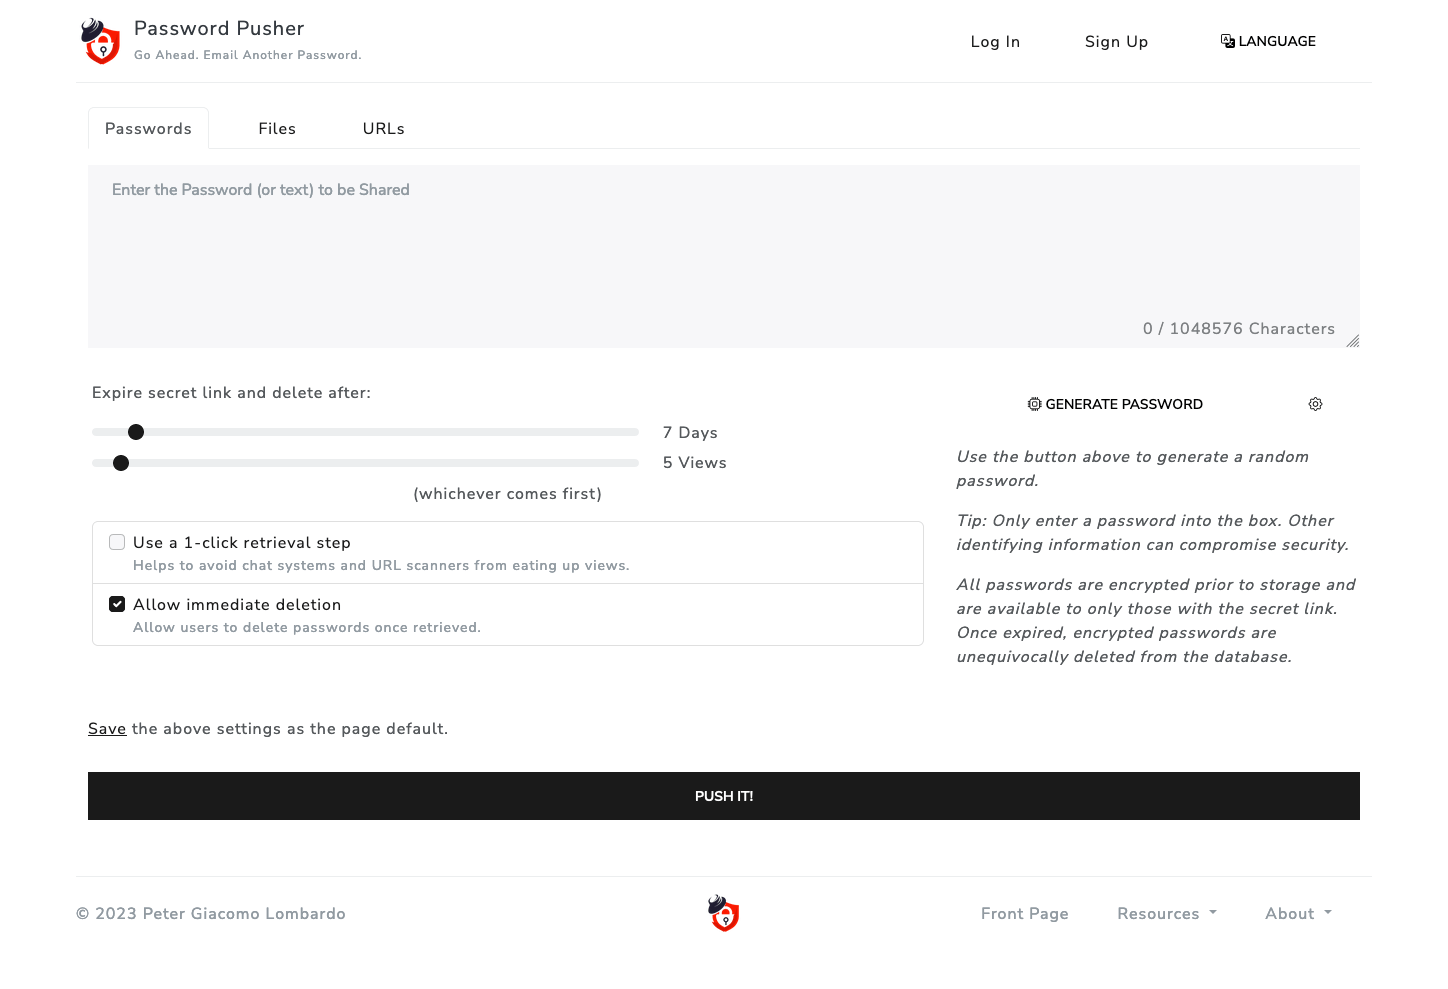
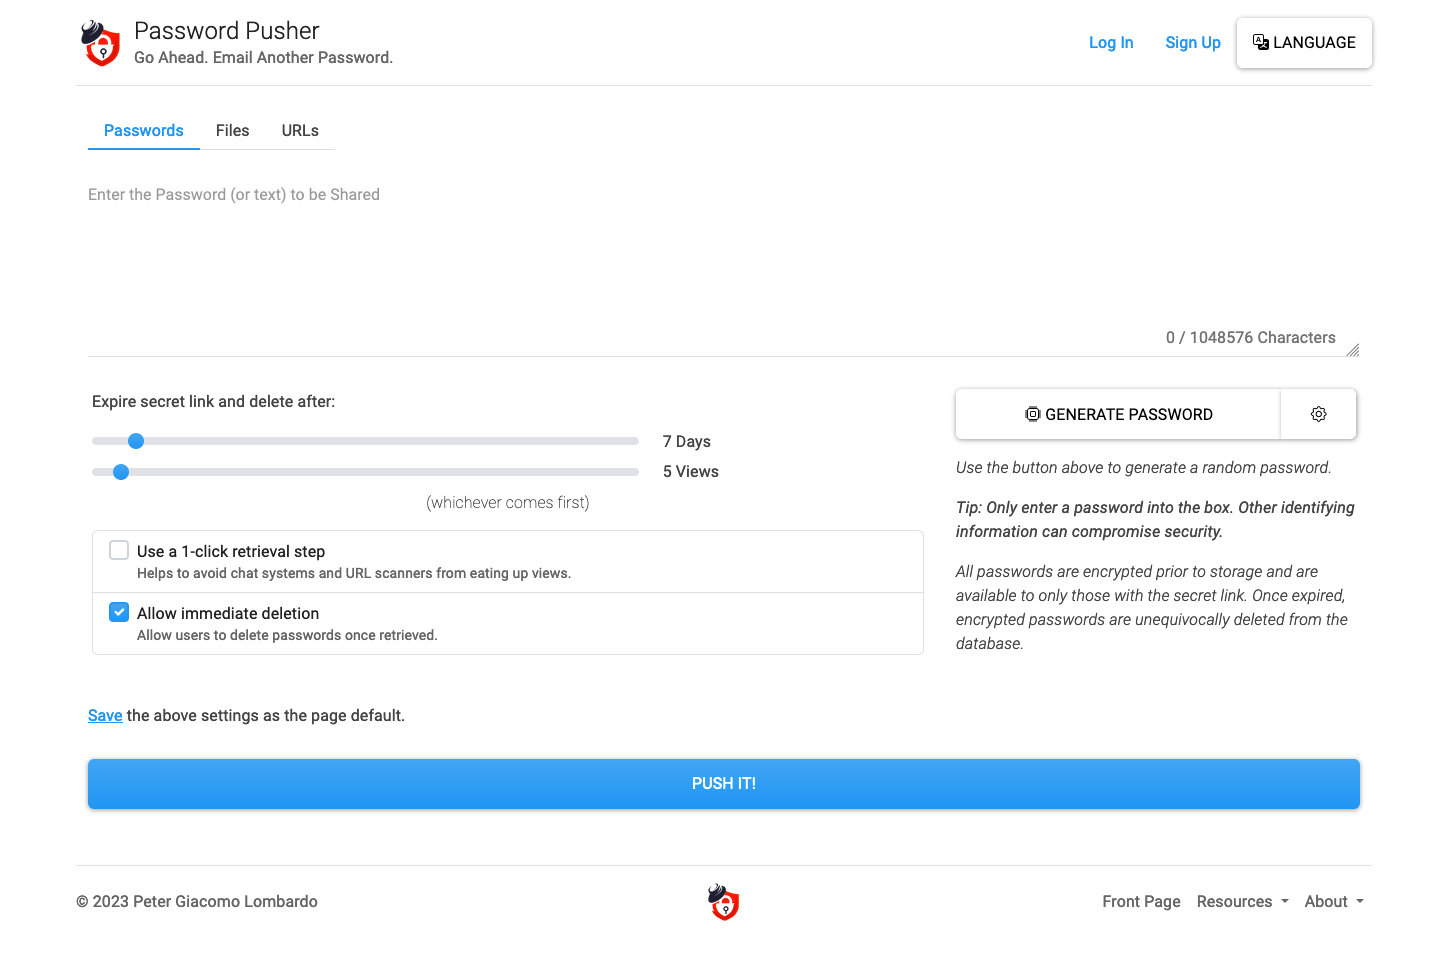
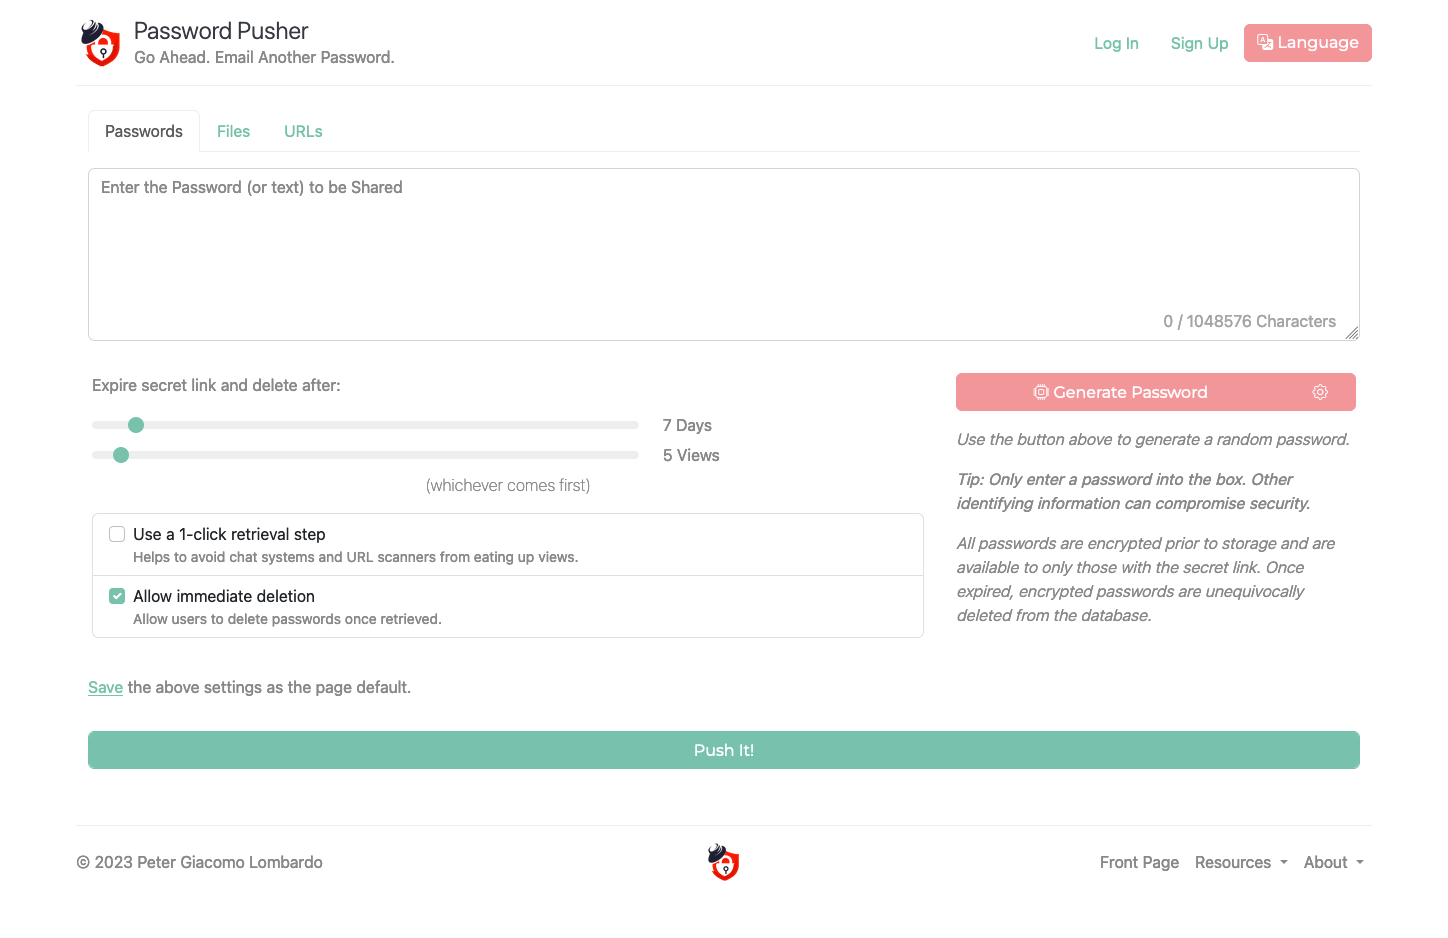
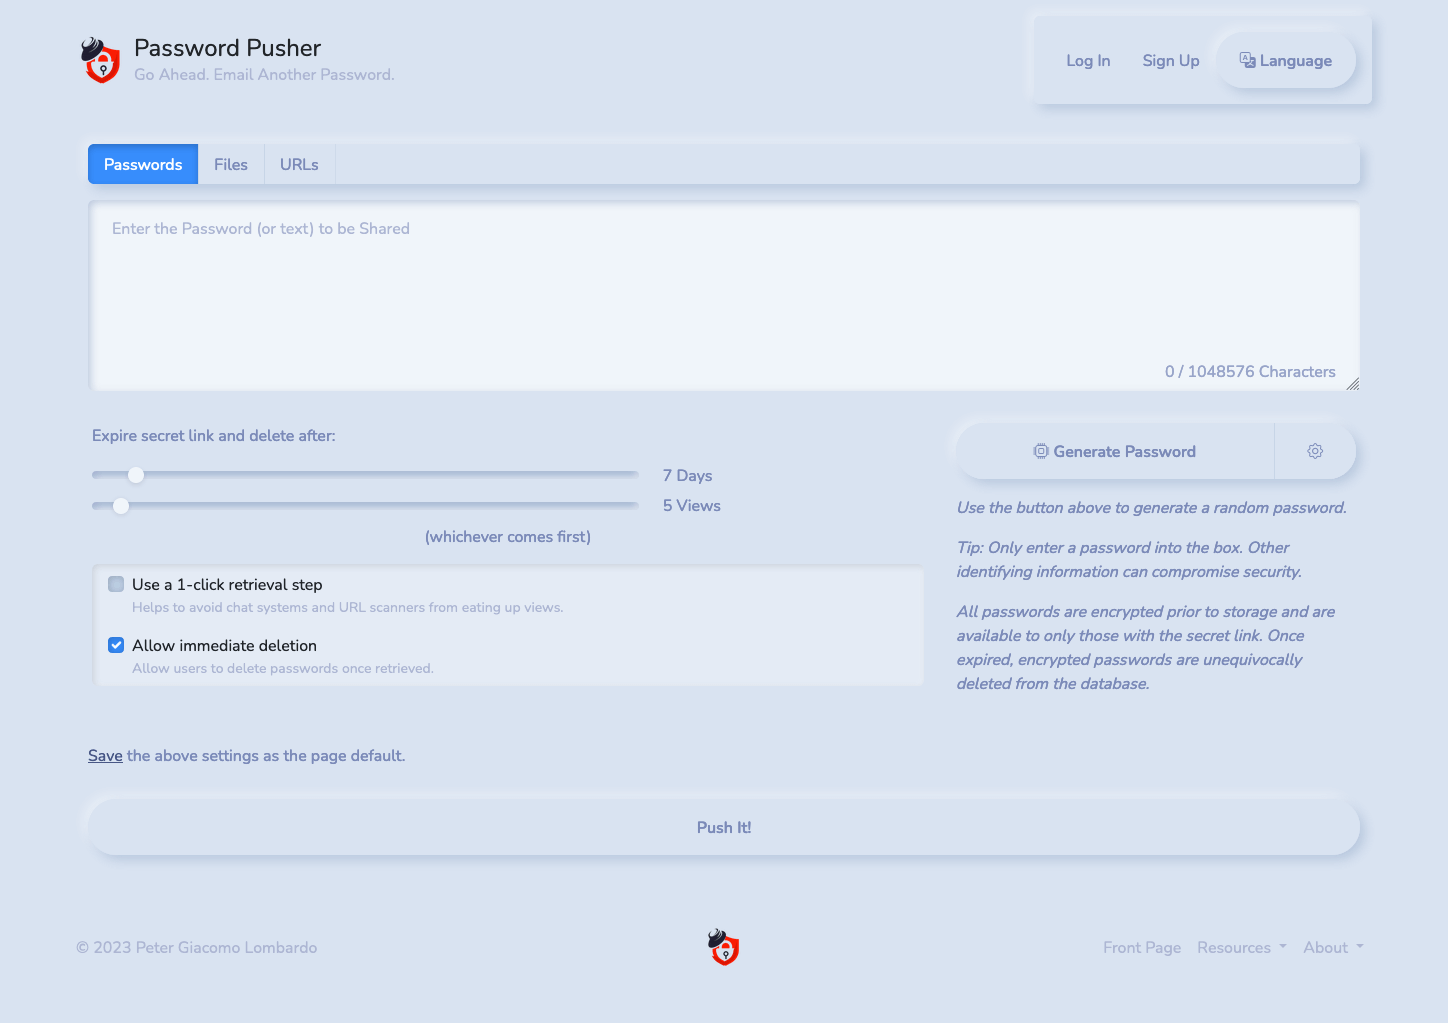
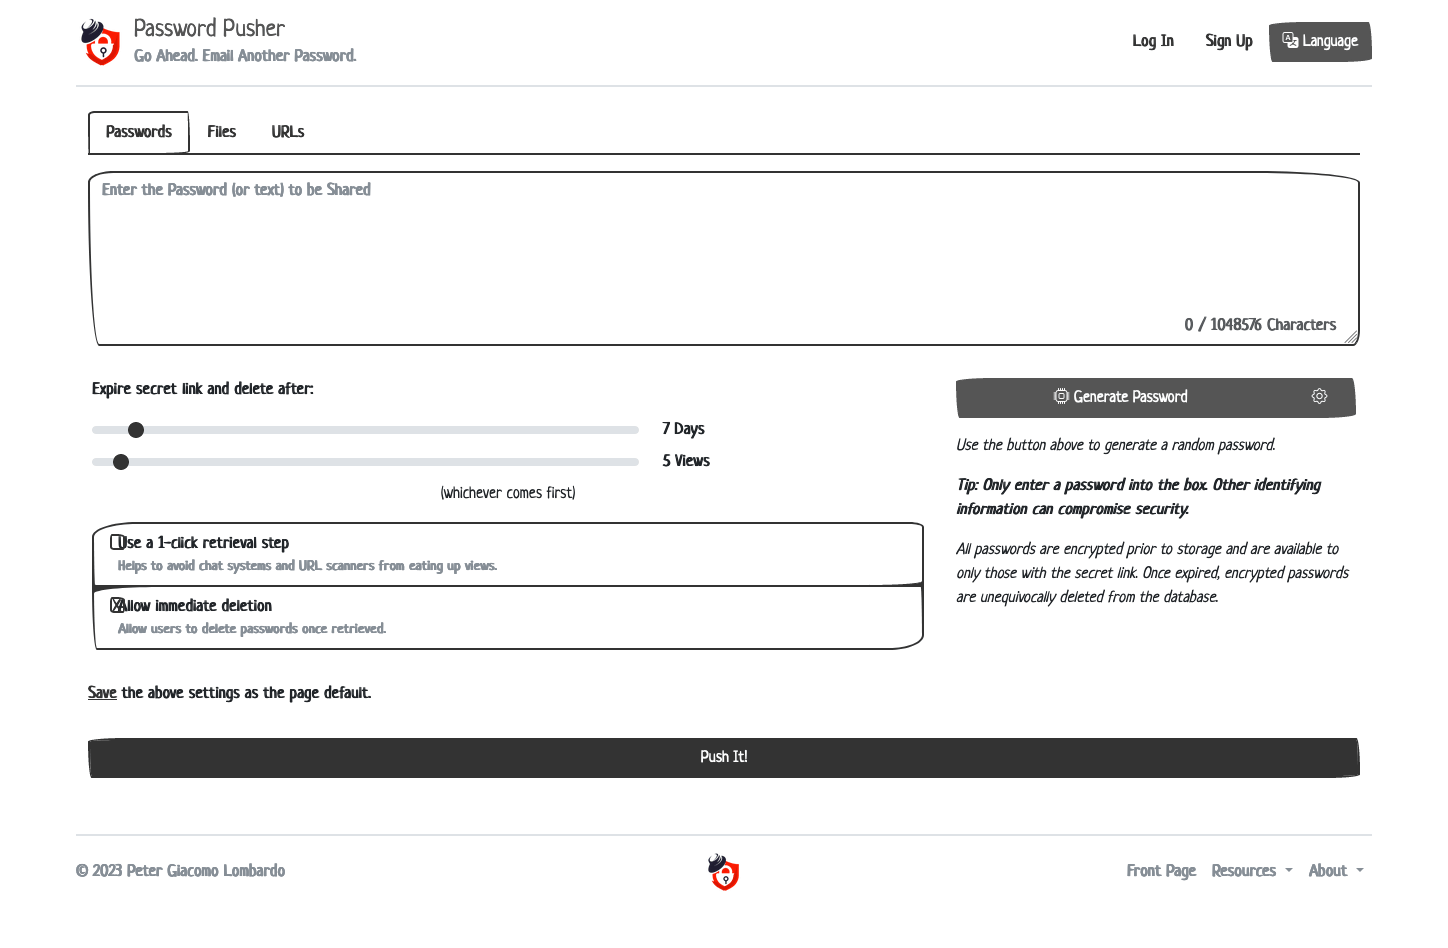
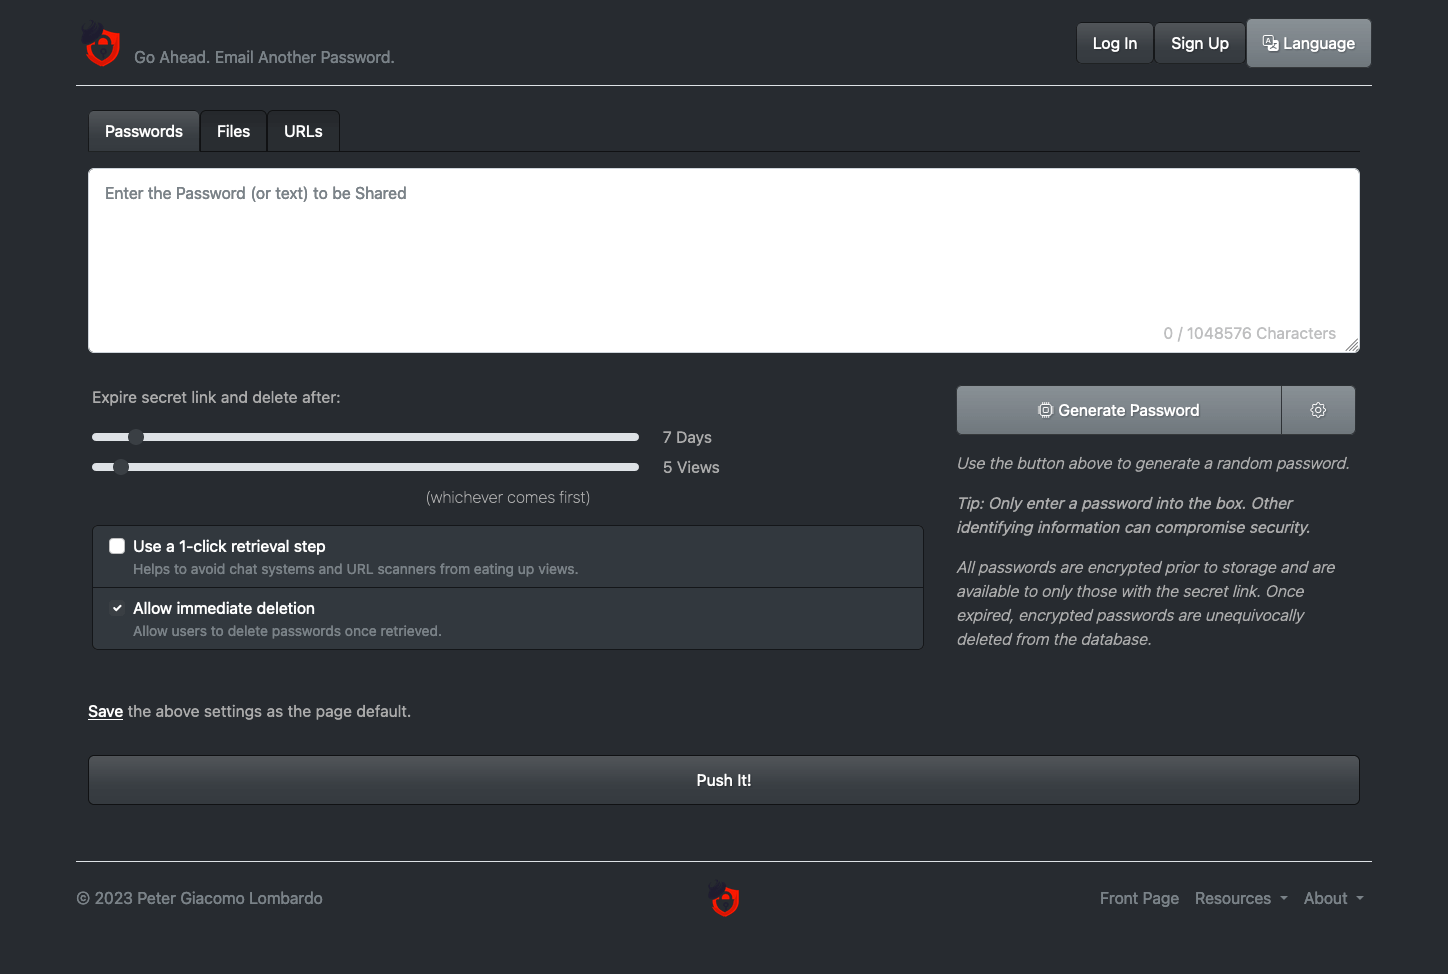
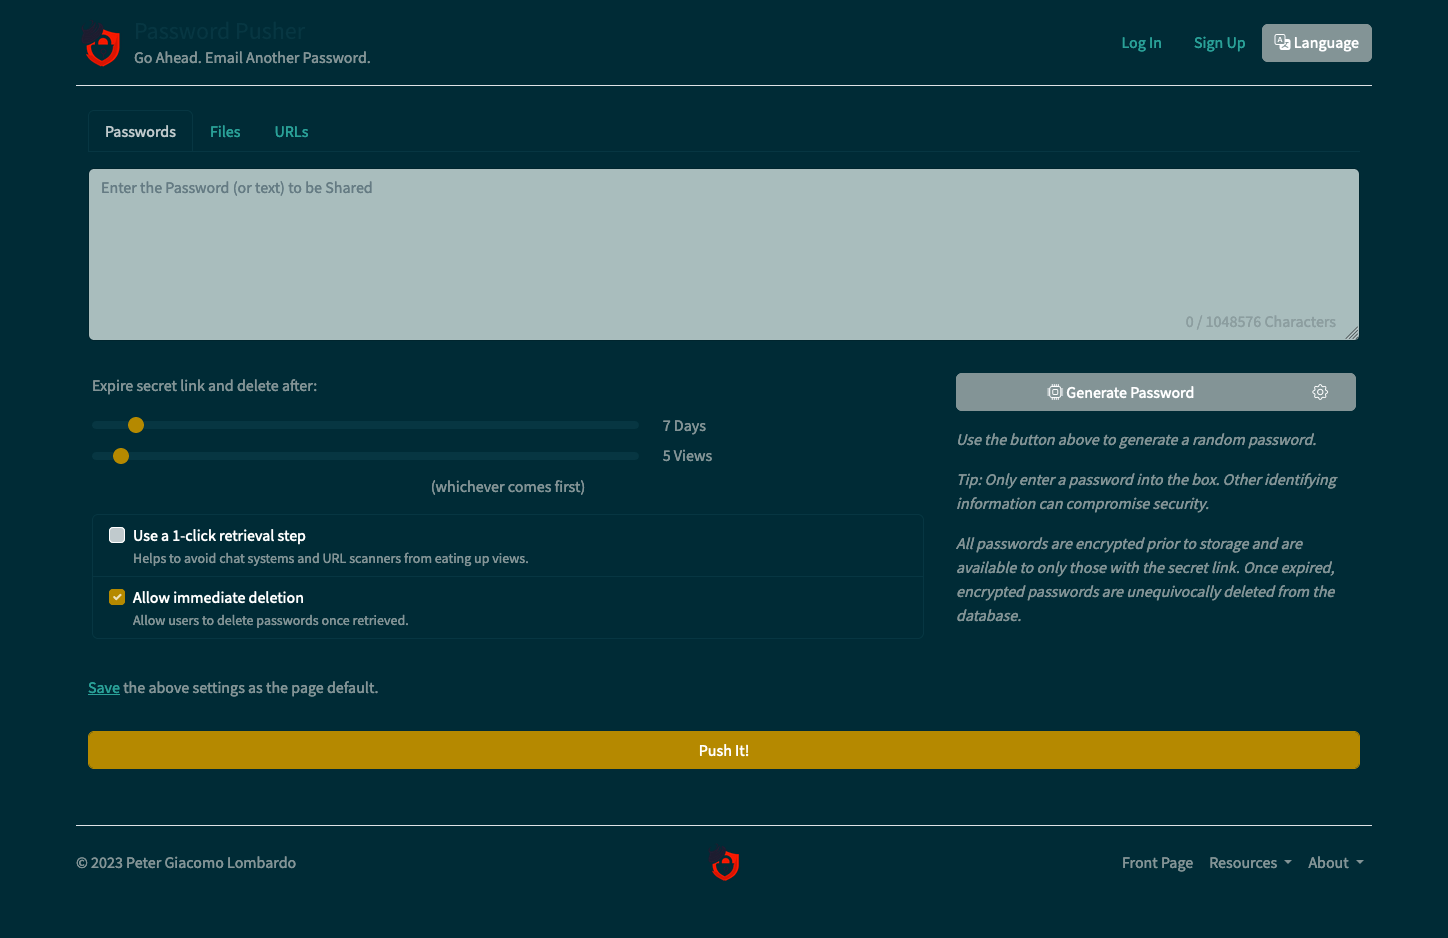
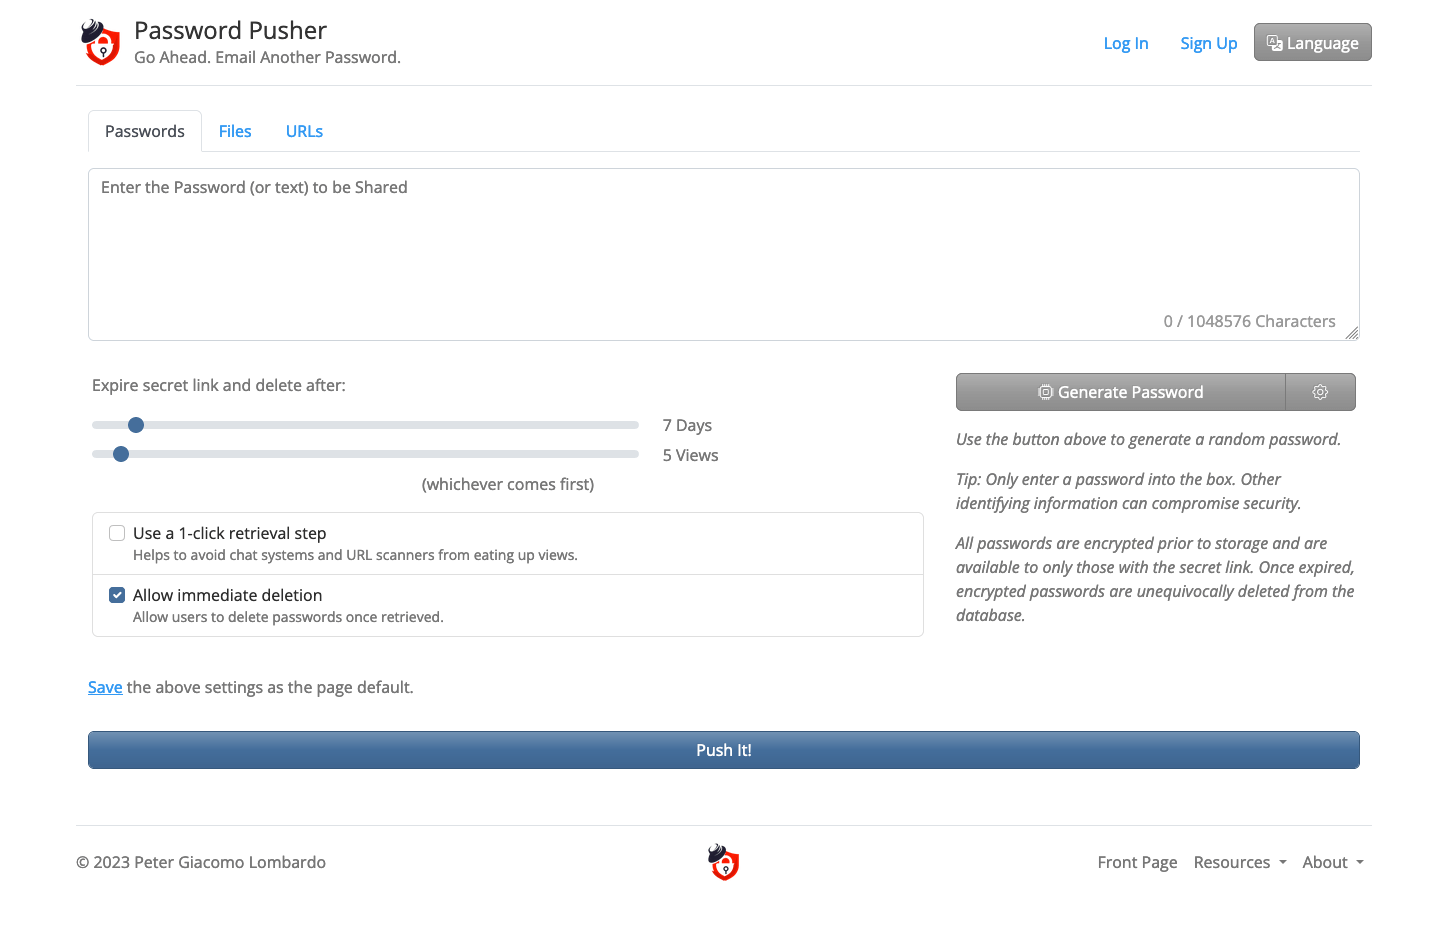
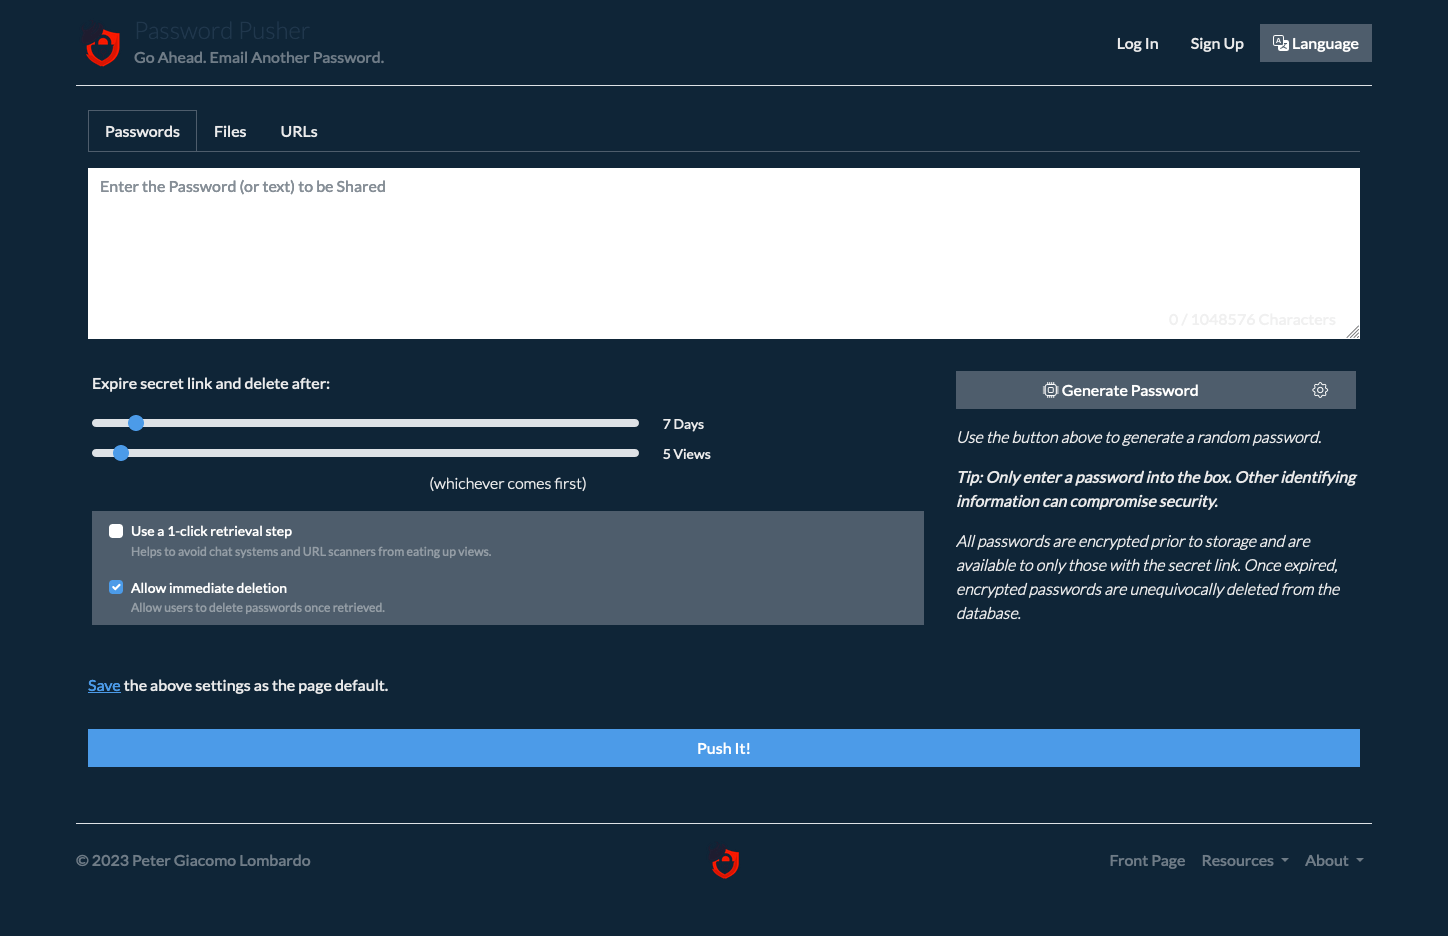
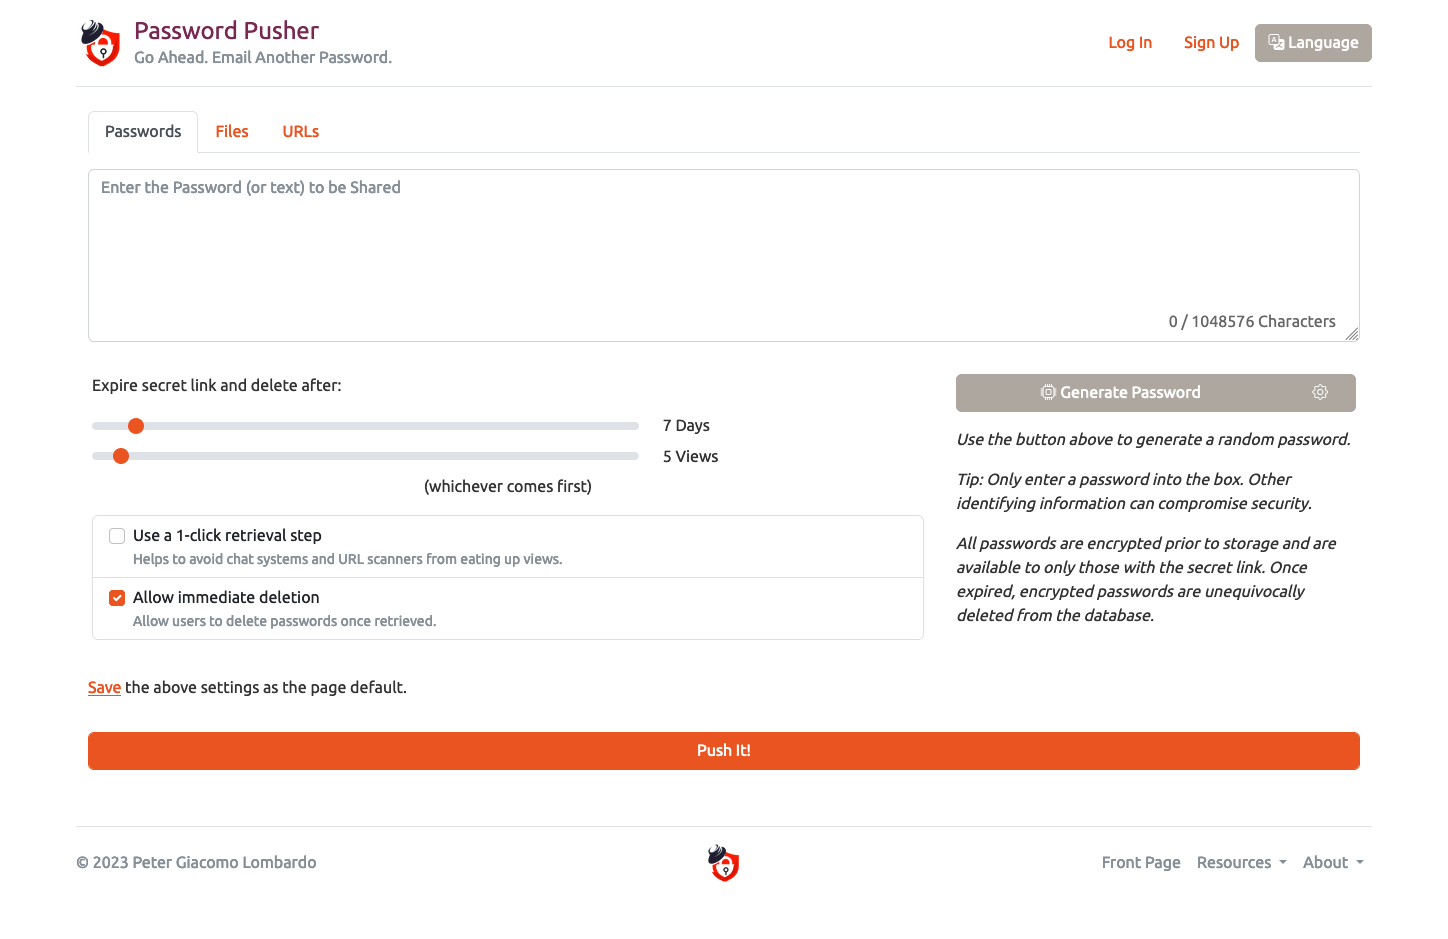
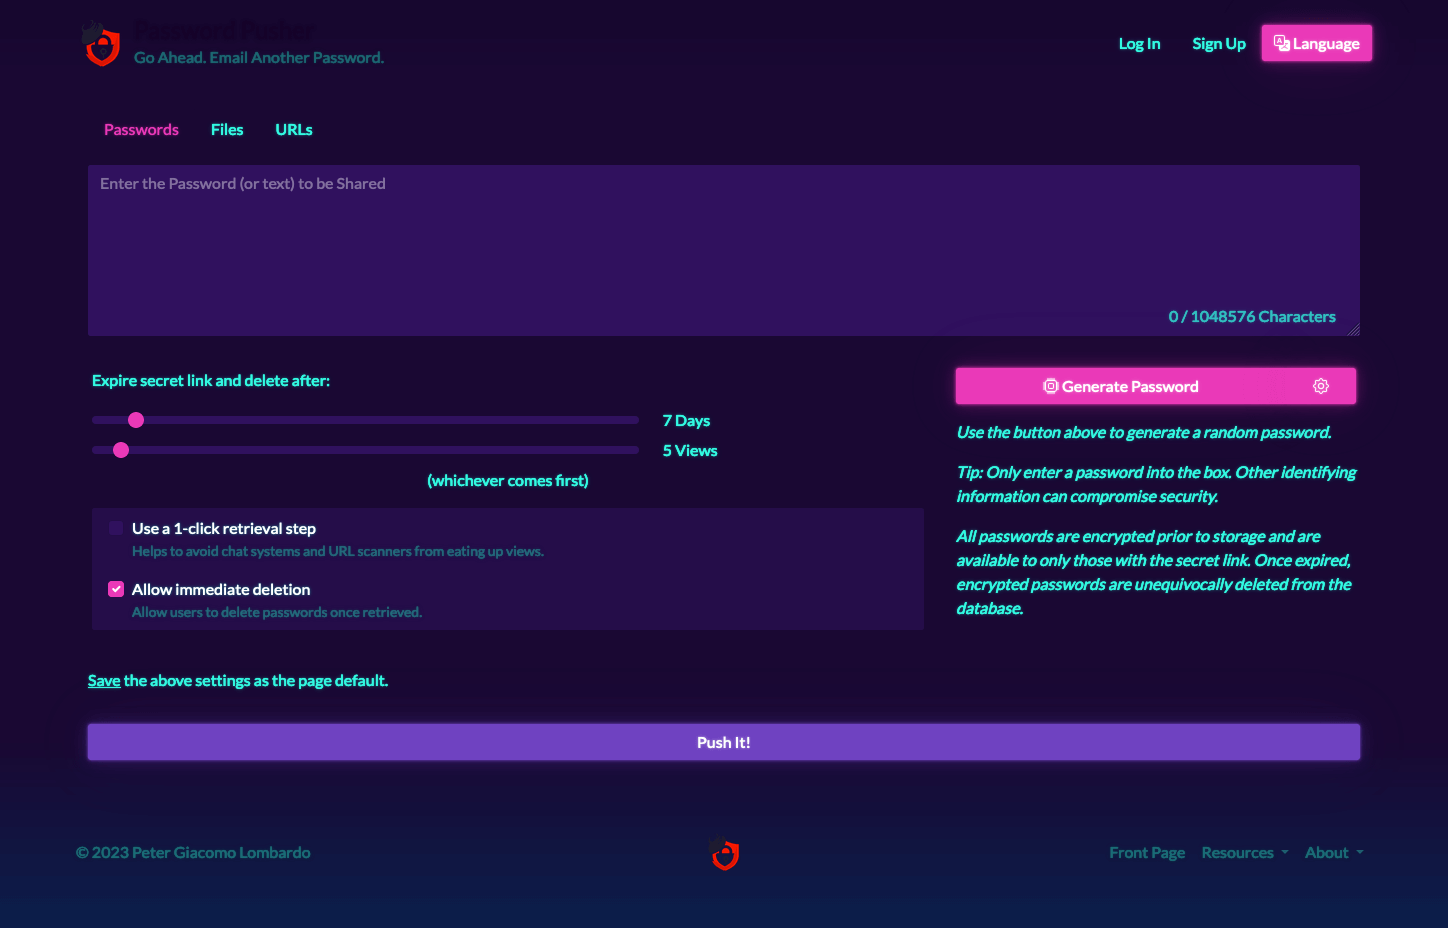
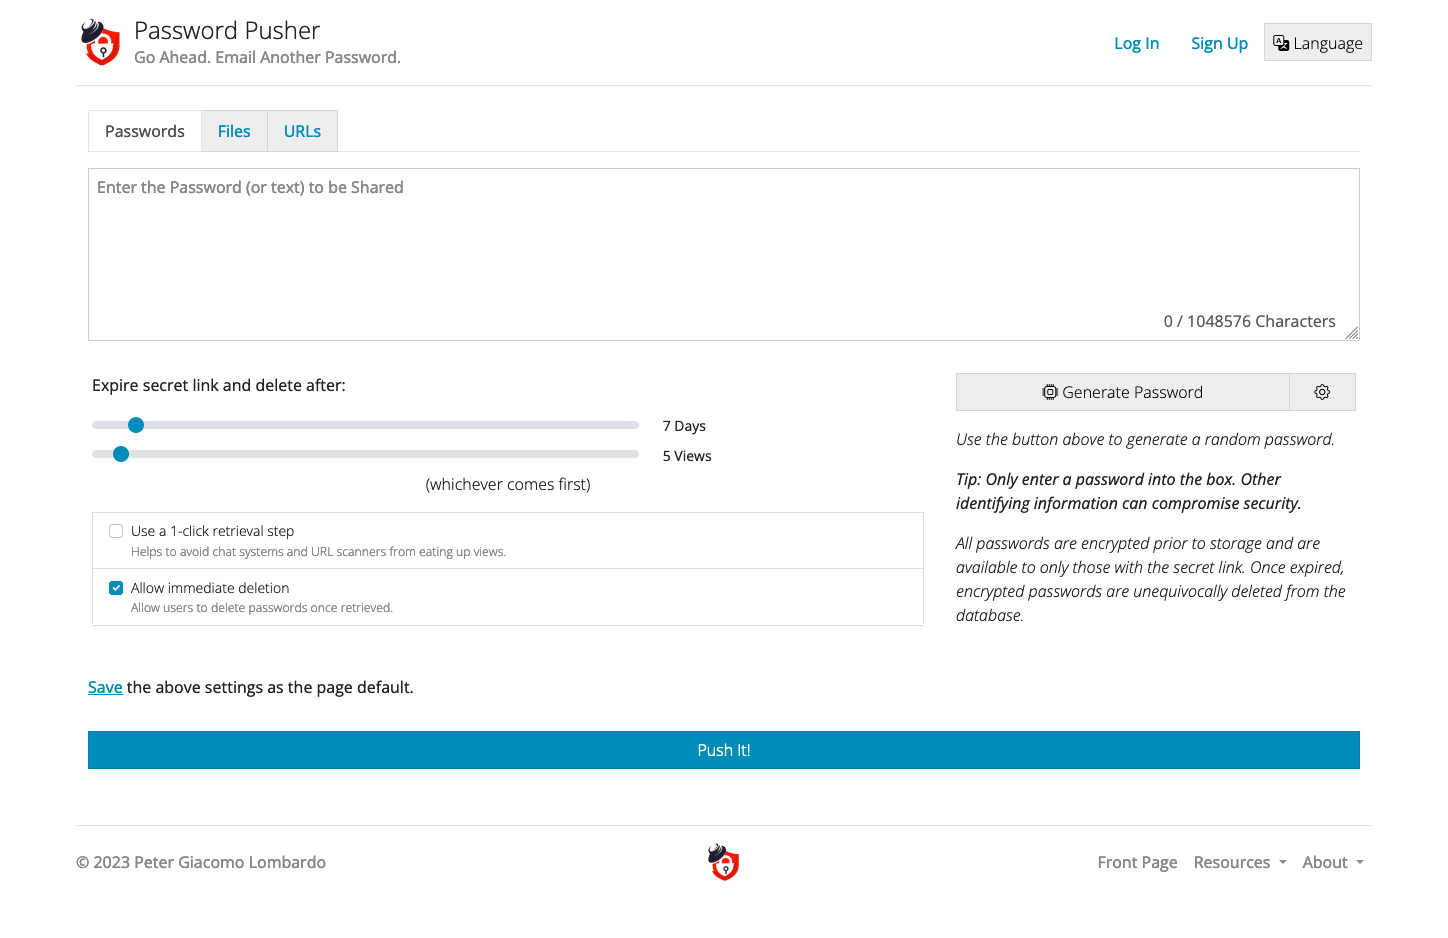
Themes
OSS Password Pusher supports 26 built-in themes out of the box. These themes are bundled in Password Pusher and come from the Bootswatch project, licensed under the MIT License.
Themes provide a complete visual makeover of the application, including colors, fonts, and styling. Most themes work well, though there may be rare edge cases where fonts aren’t clear or something doesn’t display correctly. If this happens, you can add custom CSS to fix any issues (see Custom CSS section).
Theme Gallery

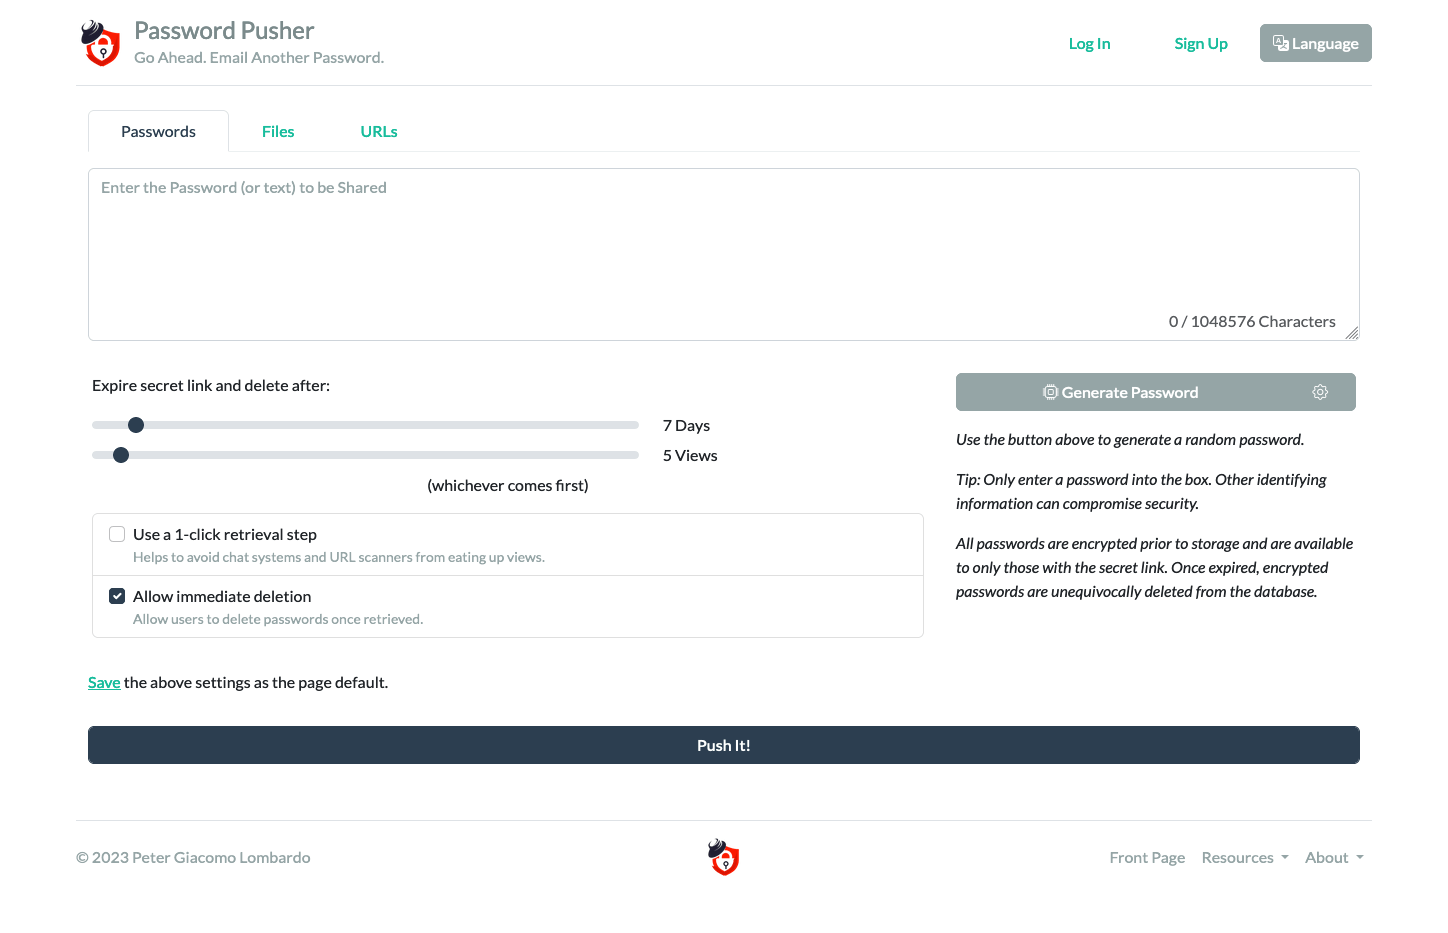
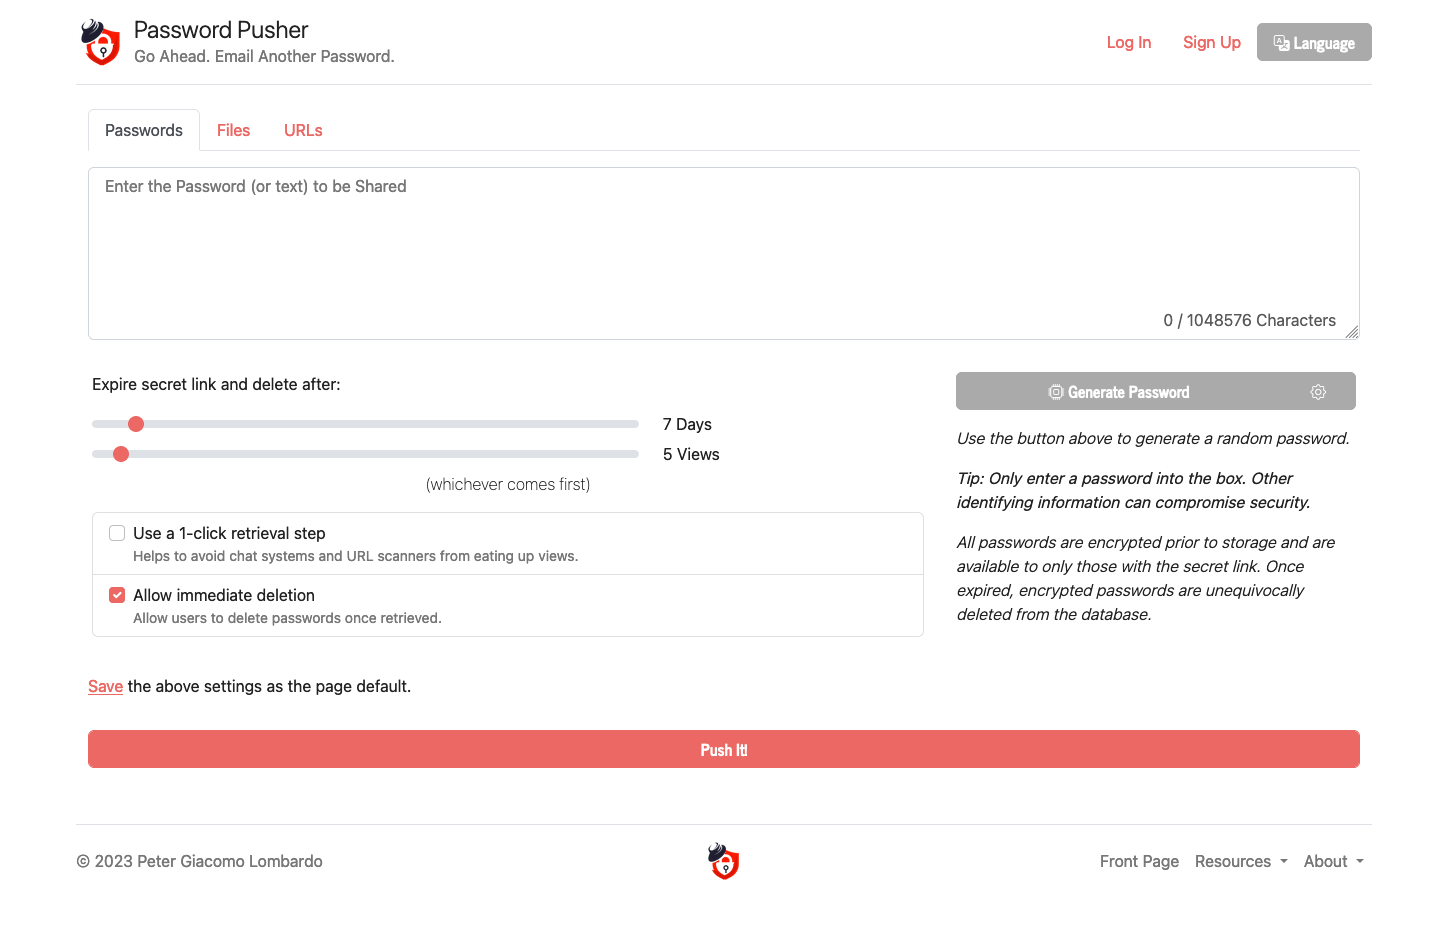
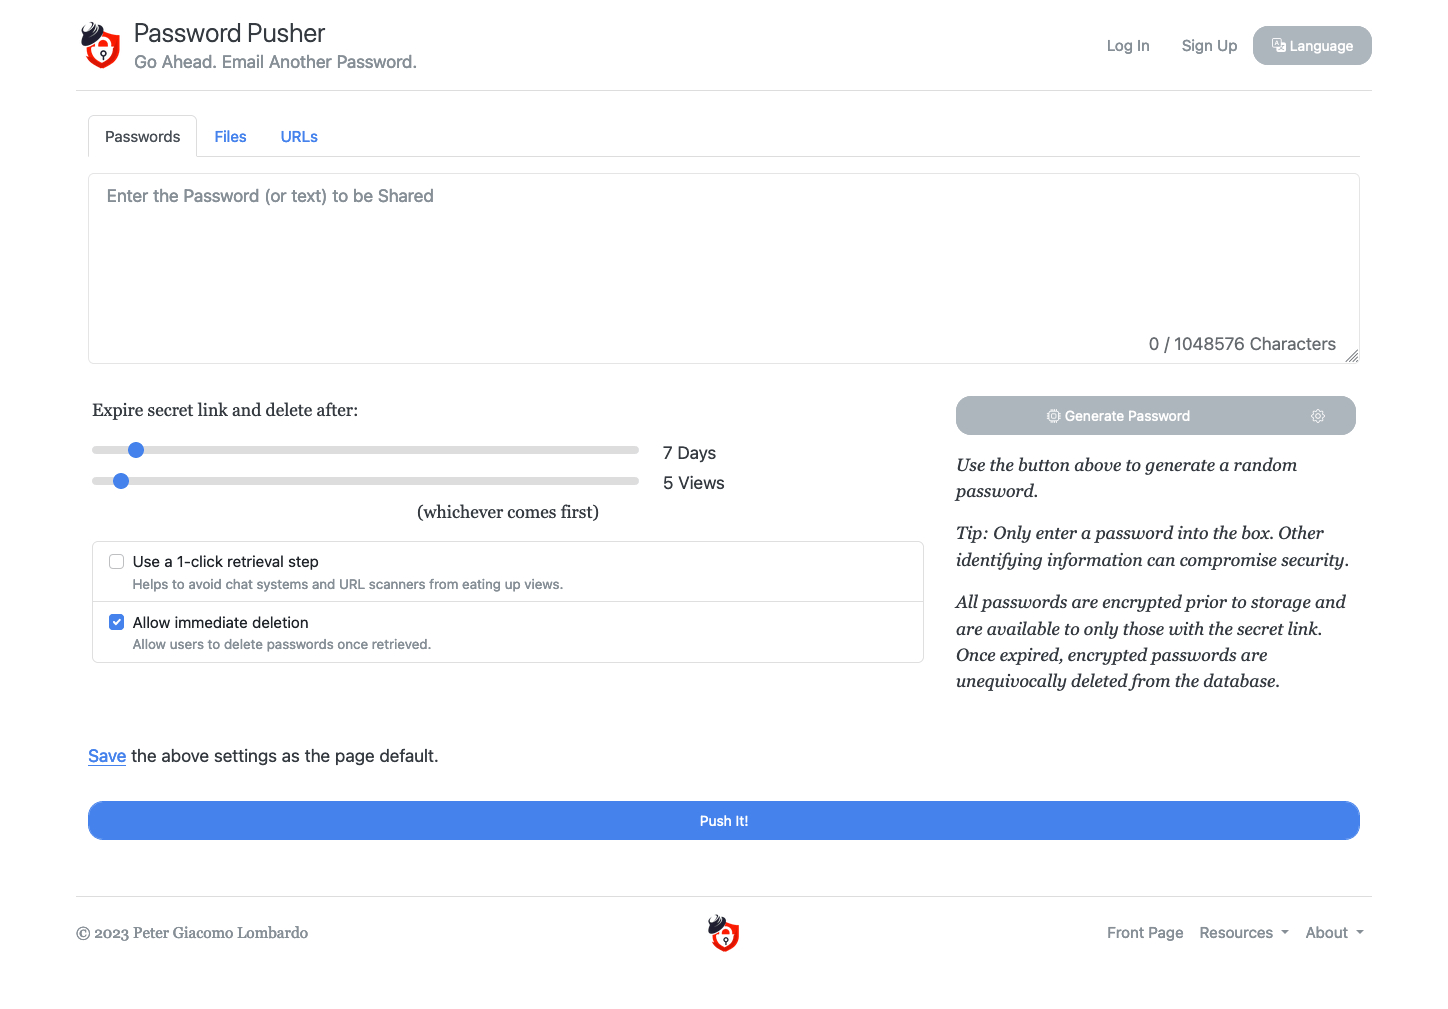
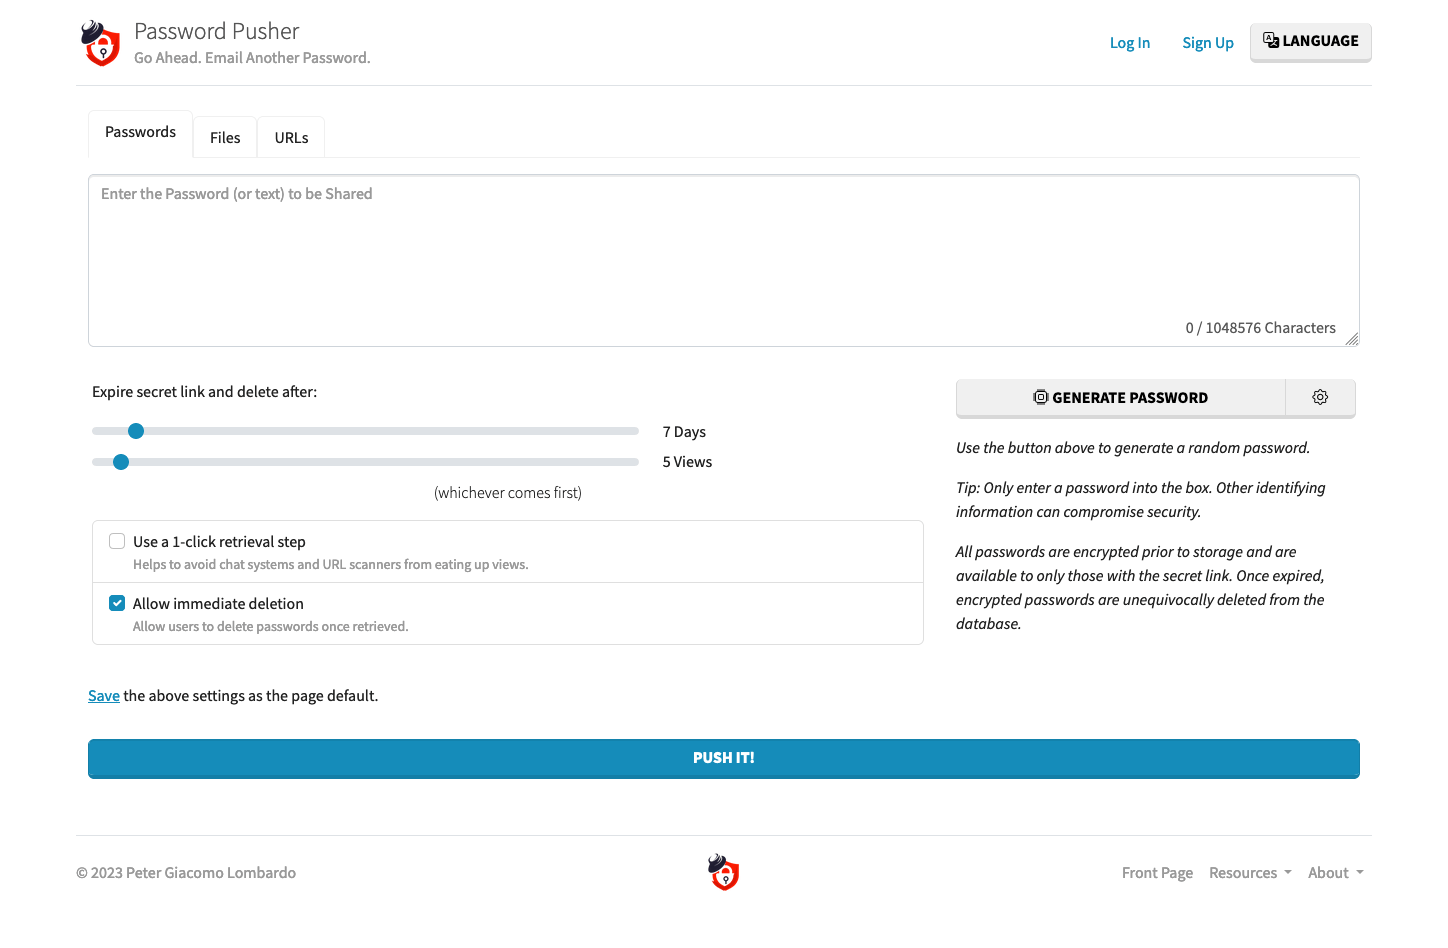
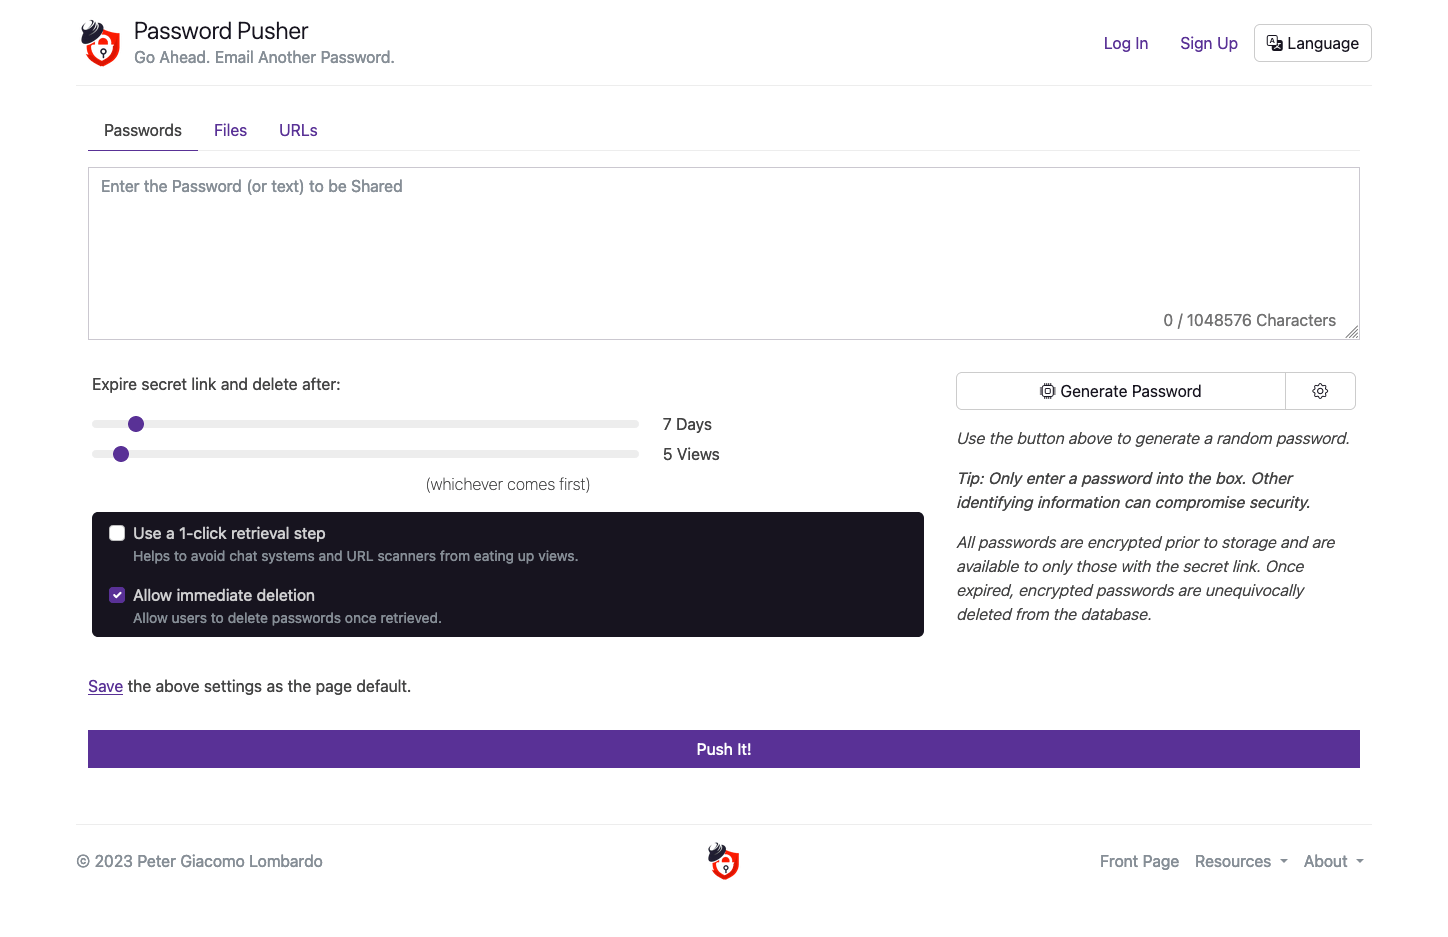
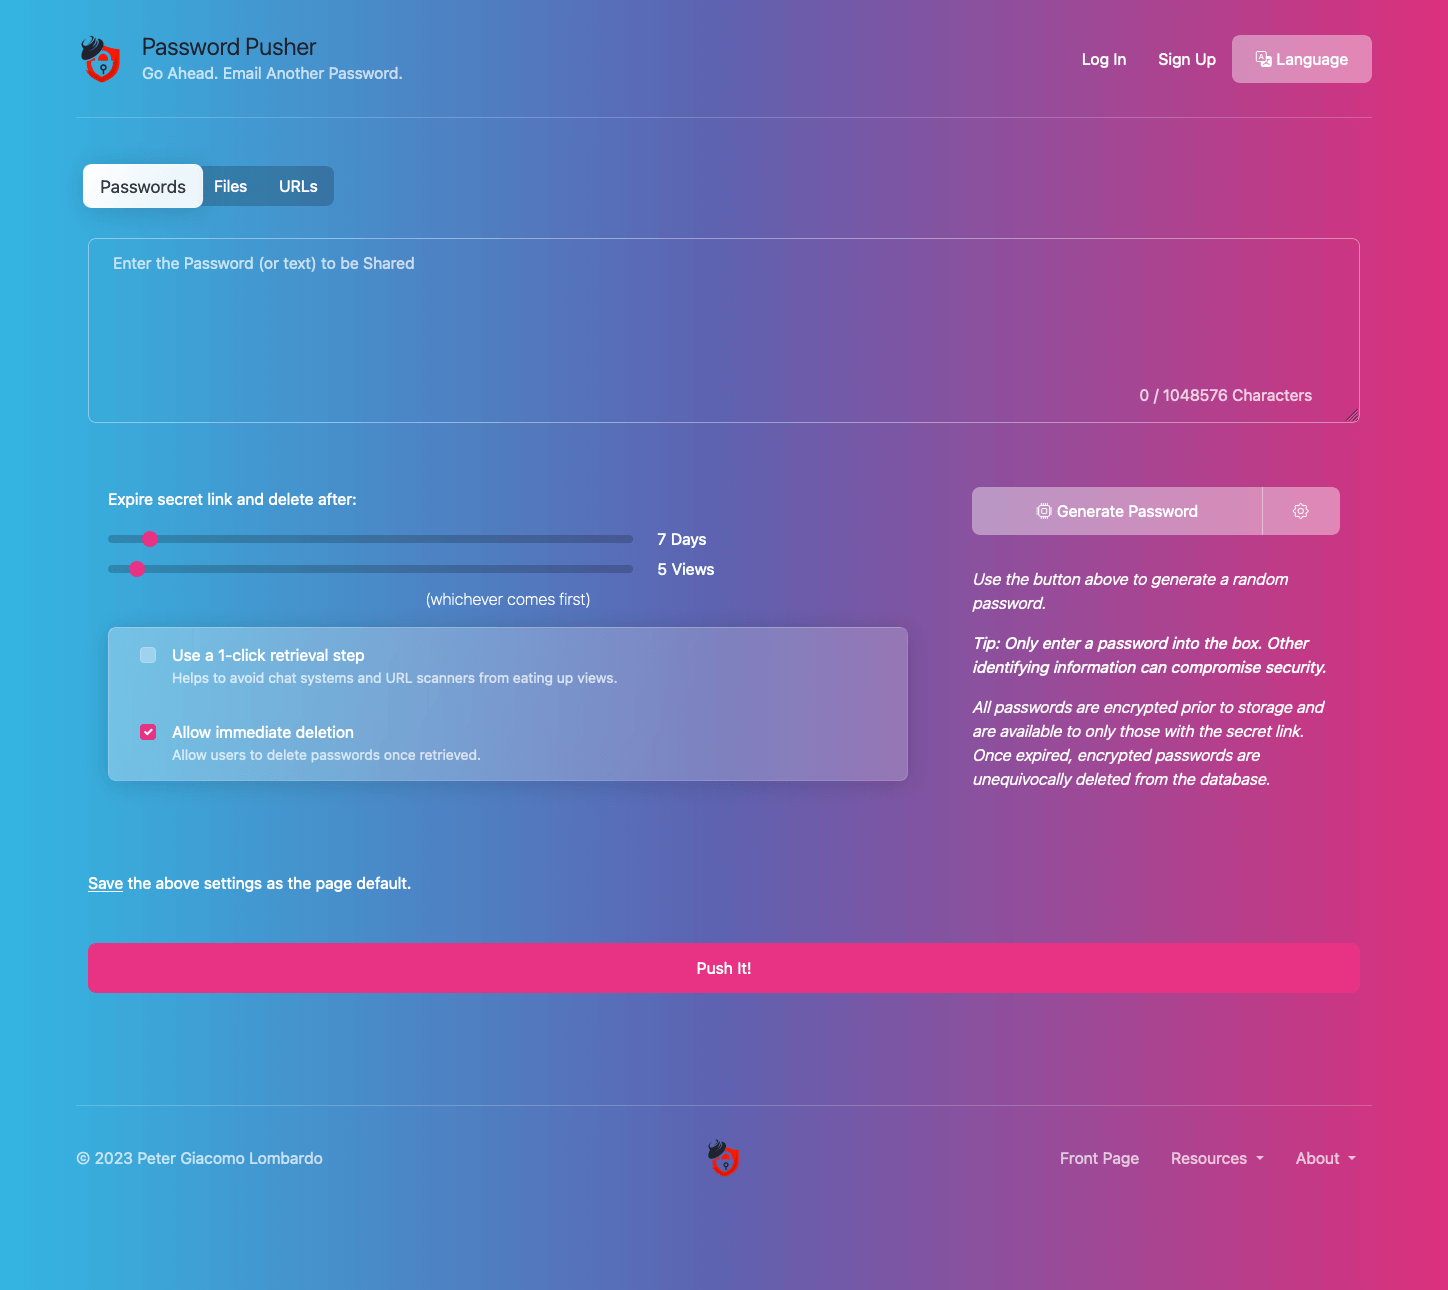
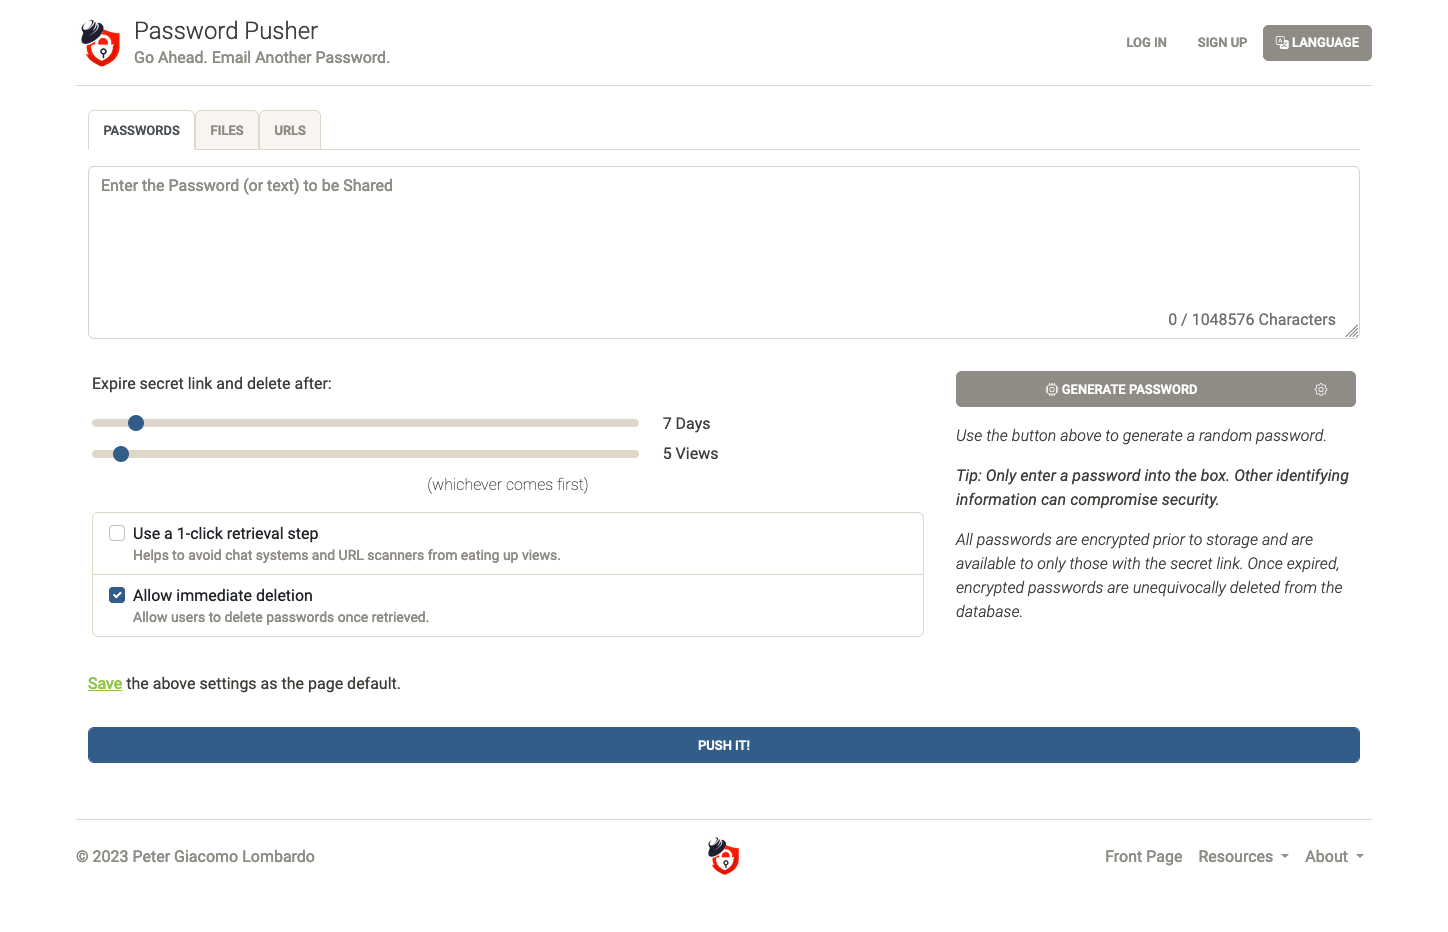
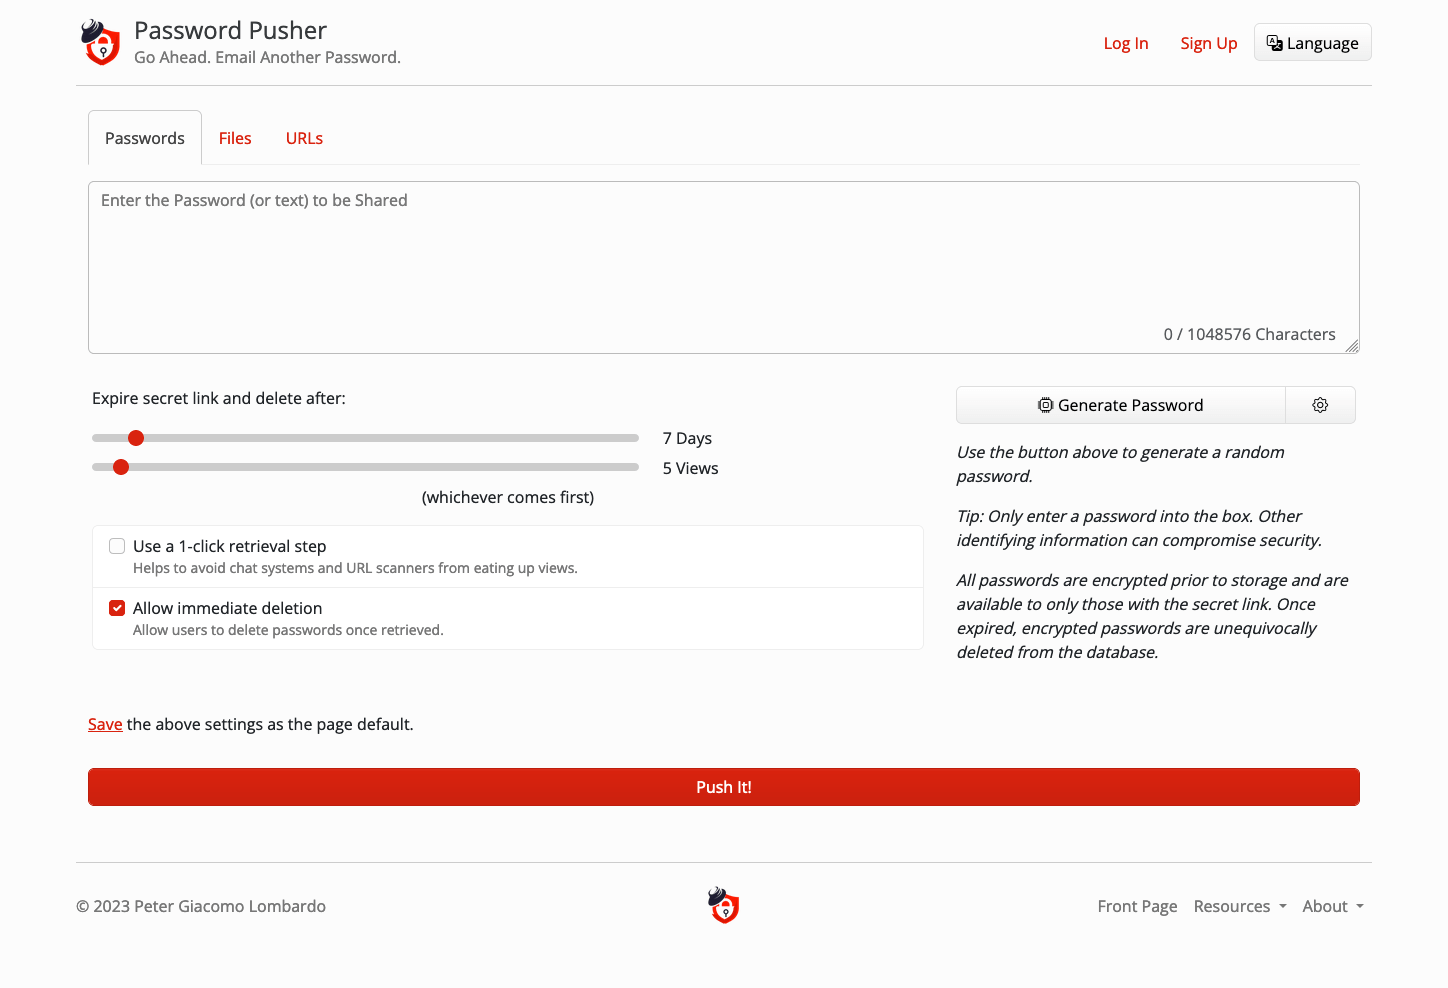
Available Themes
cerulean, cosmo, cyborg, darkly, default, flatly, journal, litera, lumen, lux, materia, minty, morph, pulse, quartz, sandstone, simplex, sketchy, slate, solar, spacelab, superhero, united, vapor, yeti, zephyr
Setting a Theme
To specify a theme for your Password Pusher instance, set the PWP__THEME environment variable.
Important: The theme must be set via the PWP__THEME environment variable (not in settings.yml). This is because theme selection happens at boot time, before the application configuration is fully loaded.
Boot Time: When setting a theme, asset precompilation can add 30-90 seconds to the boot process (depending on system performance). Make sure to allow this time in your health checks before declaring the container as unresponsive.
Docker Run
docker run -d \
  --env PWP__THEME=quartz \
  -p "80:80" -p "443:443" \
  pglombardo/pwpush:stable
Docker Compose
services:
  pwpush:
    image: docker.io/pglombardo/pwpush:stable
    environment:
      PWP__THEME: 'quartz'
    ports:
      - "80:80"
      - "443:443"
From Source
export PWP__THEME=quartz
bin/pwpush server
Asset Precompilation
When you set PWP__THEME, assets are automatically precompiled on container boot.
Note: For source code installations, run bin/pwpush asset:precompile manually after changing themes or adding custom CSS.
When to run bin/pwpush asset:precompile (source only):
- When setting a new theme
- When adding or modifying custom CSS
- After any styling changes
Legacy PWP_PRECOMPILE (deprecated): Previously used to force asset precompilation in Docker. This is now automatic when PWP__THEME is set. Keeping PWP_PRECOMPILE=true in your config is harmless but no longer needed.
Creating Custom Themes
You can create your own custom theme by adding a CSS file to the themes directory.
How it works:
The PWP__THEME environment variable causes the application to load a CSS file from app/assets/stylesheets/themes/{$PWP__THEME}.css. If you place a custom CSS file in that directory, you can set PWP__THEME to the filename (without the .css extension).
Steps to create a custom theme:
- Create your theme file:
- Add
app/assets/stylesheets/themes/mynewtheme.css - Base your theme on existing Bootswatch themes or create from scratch
- Add
- Set the theme:
PWP__THEME=mynewtheme - Precompile assets (source only):
- Run
bin/pwpush asset:precompile
- Run
For Docker containers, you’ll need to mount your custom theme file:
services:
  pwpush:
    image: docker.io/pglombardo/pwpush:stable
    environment:
      PWP__THEME: 'mynewtheme'
    volumes:
      - /path/to/mynewtheme.css:/opt/PasswordPusher/app/assets/stylesheets/themes/mynewtheme.css
Reference: Look at existing themes in the repository for examples of how to structure your custom theme.
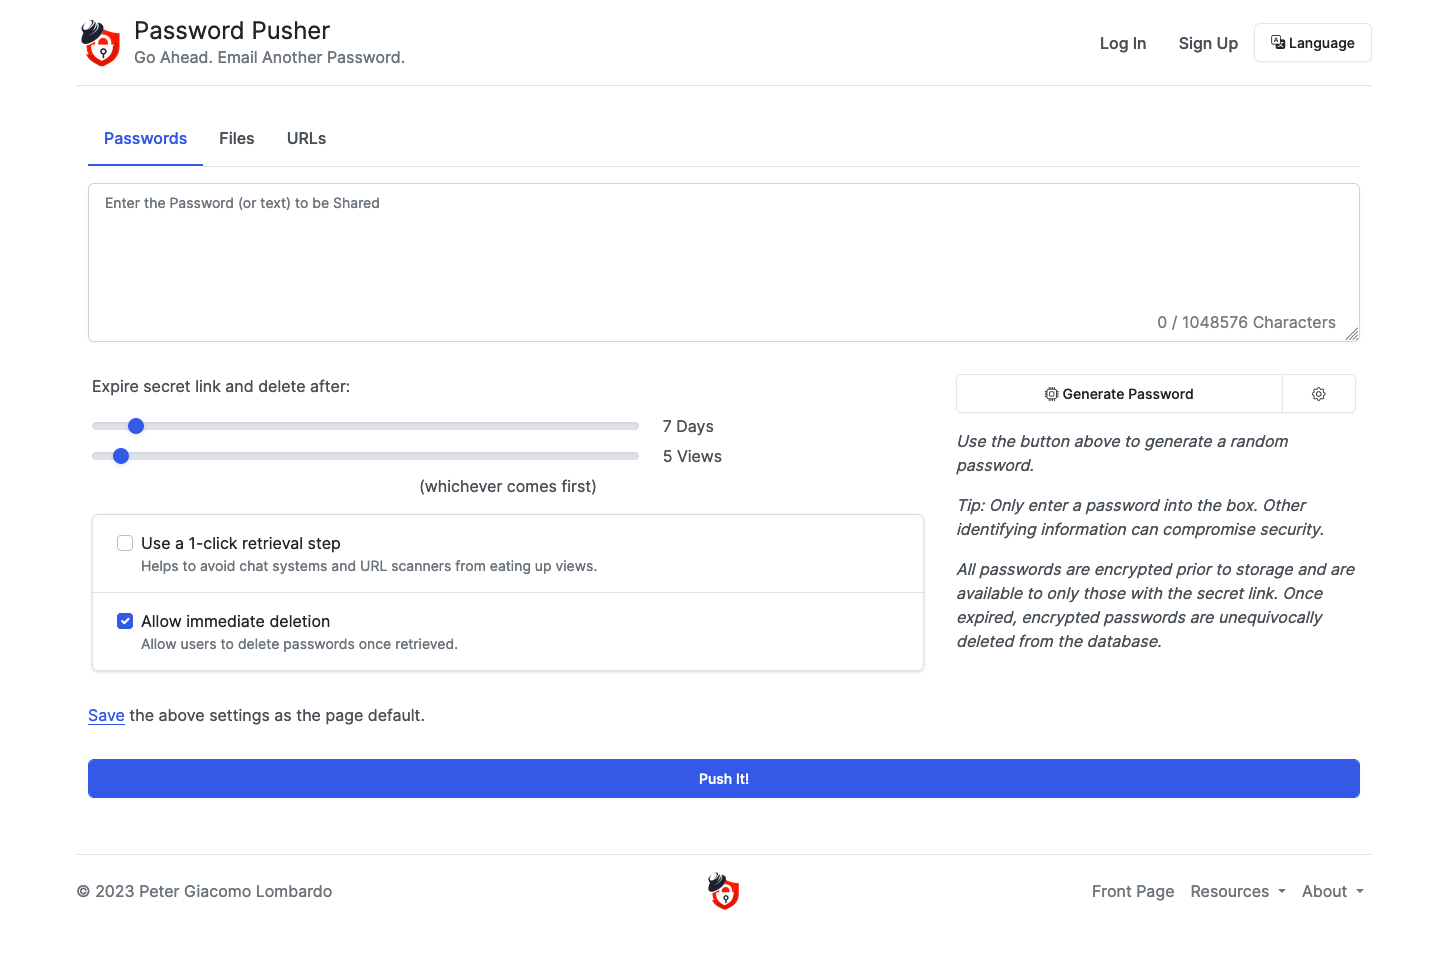
Branding
Password Pusher allows you to customize your instance with your own branding. You can set your own site title, tagline, disclaimer, and logos to match your organization’s identity.

Environment Variables
To rebrand your instance, you can set the following environment variables:
| Environment Variable | Description | Default Value |
|---|---|---|
PWP__BRAND__TITLE |
Site title displayed in header | Password Pusher |
PWP__BRAND__TAGLINE |
Site tagline displayed below title | Go Ahead. Email Another Password. |
PWP__BRAND__DISCLAIMER |
Site disclaimer text (optional) | Undefined |
PWP__BRAND__SHOW_FOOTER_MENU |
Show/hide footer menu | true |
PWP__BRAND__LIGHT_LOGO |
Logo image for light theme | logo-transparent-sm-bare.png |
PWP__BRAND__DARK_LOGO |
Logo image for dark theme | logo-transparent-sm-bare.png |
Configuration Examples
Docker Compose
services:
  pwpush:
    image: docker.io/pglombardo/pwpush:stable
    environment:
      PWP__BRAND__TITLE: 'My Company Password Pusher'
      PWP__BRAND__TAGLINE: 'Secure password sharing for your team'
      PWP__BRAND__DISCLAIMER: 'This service is for internal use only.'
      PWP__BRAND__LIGHT_LOGO: 'https://cdn.example.com/logos/light-logo.png'
      PWP__BRAND__DARK_LOGO: 'https://cdn.example.com/logos/dark-logo.png'
Shell
export PWP__BRAND__TITLE='My Company Password Pusher'
export PWP__BRAND__TAGLINE='Secure password sharing for your team'
export PWP__BRAND__DISCLAIMER='This service is for internal use only.'
Logo Images
You can specify logo images using either:
- Fully qualified HTTP(s) URLs (easiest) - Recommended for production
- Relative paths - For images mounted inside the container
Using External URLs (Recommended)
The easiest approach is to host your logos on a CDN or web server and reference them via URL:
environment:
  PWP__BRAND__LIGHT_LOGO: 'https://cdn.example.com/logos/light-logo.png'
  PWP__BRAND__DARK_LOGO: 'https://cdn.example.com/logos/dark-logo.png'
Benefits:
- No need to mount volumes
- Easy to update logos without restarting containers
- Better performance with CDN hosting
Using Mounted Volumes
If you prefer to store logos locally, mount a directory containing your logo images:
Docker Run:
docker run -d \
  -p "80:80" -p "443:443" \
  -v /var/lib/pwpush/logos:/opt/PasswordPusher/public/logos:ro \
  --env PWP__BRAND__LIGHT_LOGO=/logos/light-logo.png \
  --env PWP__BRAND__DARK_LOGO=/logos/dark-logo.png \
  pglombardo/pwpush:stable
Docker Compose:
services:
  pwpush:
    image: docker.io/pglombardo/pwpush:stable
    volumes:
      - /var/lib/pwpush/logos:/opt/PasswordPusher/public/logos:ro
    environment:
      PWP__BRAND__LIGHT_LOGO: '/logos/light-logo.png'
      PWP__BRAND__DARK_LOGO: '/logos/dark-logo.png'
Note: The path /opt/PasswordPusher/public/logos is where logos should be mounted. Use relative paths (starting with /logos/) in your environment variables.
Logo Recommendations:
- Format: PNG with transparency (recommended) or SVG
- Size: 200-300px width for best results
- Light theme logo: Use a dark logo on transparent background
- Dark theme logo: Use a light logo on transparent background
Favicons
You can customize the application favicons by replacing the default icons with your own assets. Favicons are used in:
- Browser tabs
- Bookmarks
- Browser history
- Mobile home screen icons
Recommended Sizes:
- At minimum, set
icon_57x57andicon_96x96for basic functionality - For full support across all devices and browsers, configure all sizes listed below
Creating Favicons:
Use online icon generators to create favicon sets from a single image:
These tools will generate all required sizes from a single source image.
Favicon Environment Variables:
| Environment Variable | Size | Default Value | Use Case |
|---|---|---|---|
PWP__BRAND__ICON_16x16 |
16×16 | favicon-16x16.png |
Browser tab (standard) |
PWP__BRAND__ICON_32x32 |
32×32 | favicon-32x32.png |
Browser tab (high DPI) |
PWP__BRAND__ICON_96x96 |
96×96 | favicon-96x96.png |
Android home screen |
PWP__BRAND__ICON_57x57 |
57×57 | apple-icon-57x57.png |
iOS home screen (standard) |
PWP__BRAND__ICON_60x60 |
60×60 | apple-icon-60x60.png |
iOS home screen |
PWP__BRAND__ICON_72x72 |
72×72 | apple-icon-72x72.png |
iPad home screen |
PWP__BRAND__ICON_76x76 |
76×76 | apple-icon-76x76.png |
iPad home screen (high DPI) |
PWP__BRAND__ICON_114x114 |
114×114 | apple-icon-114x114.png |
iPhone Retina |
PWP__BRAND__ICON_120x120 |
120×120 | apple-icon-120x120.png |
iPhone Retina |
PWP__BRAND__ICON_144x144 |
144×144 | apple-icon-144x144.png |
iPad Retina |
PWP__BRAND__ICON_152x152 |
152×152 | apple-icon-152x152.png |
iPad Retina |
PWP__BRAND__ICON_180x180 |
180×180 | apple-icon-180x180.png |
iPhone 6+ |
PWP__BRAND__ICON_192x192 |
192×192 | android-icon-192x192.png |
Android home screen |
PWP__BRAND__MS_ICON_144x144 |
144×144 | ms-icon-144x144.png |
Windows tile |
Configuration Example:
environment:
  PWP__BRAND__ICON_16x16: 'https://cdn.example.com/favicons/favicon-16x16.png'
  PWP__BRAND__ICON_32x32: 'https://cdn.example.com/favicons/favicon-32x32.png'
  PWP__BRAND__ICON_96x96: 'https://cdn.example.com/favicons/favicon-96x96.png'
  # ... other sizes
Note: Instead of environment variables, you can also use configuration via YAML file for easier management.
Custom CSS
Password Pusher supports adding custom CSS to override or extend built-in themes. The application loads a custom.css file located at app/assets/stylesheets/custom.css. This file is loaded last, so it takes precedence over all built-in themes and styling.
Use cases for custom CSS:
- Fix theme-specific display issues
- Add custom styling beyond what themes provide
- Override specific theme elements
- Add organization-specific branding elements
Important: When modifying custom CSS via a mounted file in Docker, you must also set PWP__THEME to trigger asset precompilation. For source installations, run bin/pwpush asset:precompile after modifying CSS.
Docker Run
docker run -d \
  -e PWP__THEME=default \
  --mount type=bind,source=/path/to/my/custom.css,target=/opt/PasswordPusher/app/assets/stylesheets/custom.css \
  -p "80:80" -p "443:443" \
  pglombardo/pwpush:stable
Docker Compose
services:
  pwpush:
    image: docker.io/pglombardo/pwpush:stable
    ports:
      - "80:80"
      - "443:443"
    environment:
      PWP__THEME: 'default'
    volumes:
      - type: bind
        source: /path/to/my/custom.css
        target: /opt/PasswordPusher/app/assets/stylesheets/custom.css
From Source
- Edit
app/assets/stylesheets/custom.cssdirectly - Run
bin/pwpush asset:precompileto compile assets - Restart the application
Example
/* Override navbar background */
.navbar {
  background-color: #your-brand-color !important;
}

/* Custom button styling */
.btn-primary {
  border-radius: 8px;
  font-weight: 600;
}

/* Fix theme-specific font issues */
body {
  font-family: 'Your Font', sans-serif;
}
Note: Use !important sparingly and only when necessary to override theme styles.
See Also
- Configuration Strategies - Setting environment variables
- Docker File Overlays - Mounting custom files in Docker
- Installation Guide - Set up Password Pusher